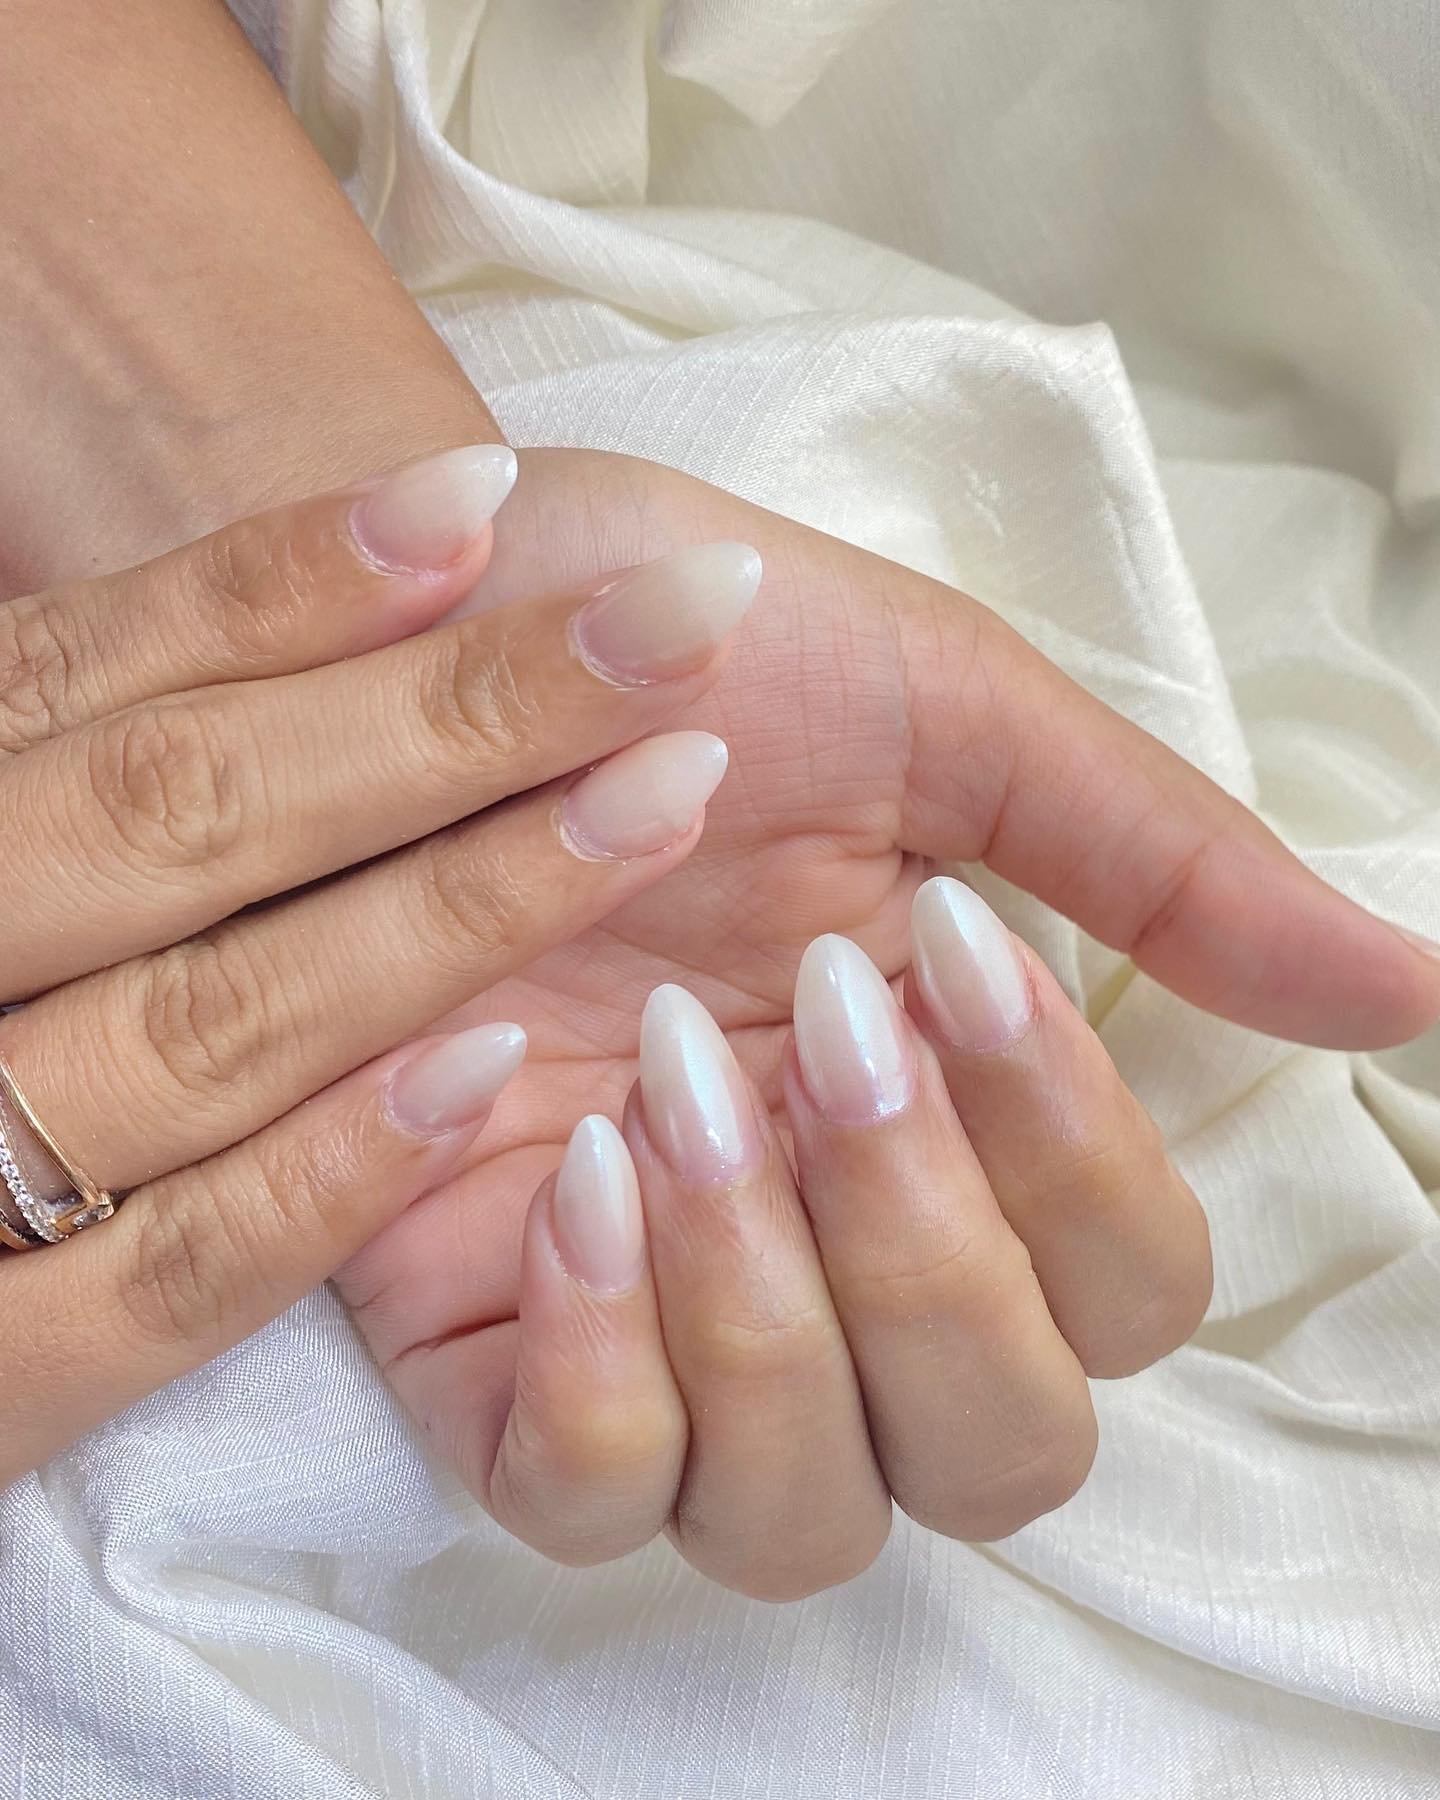
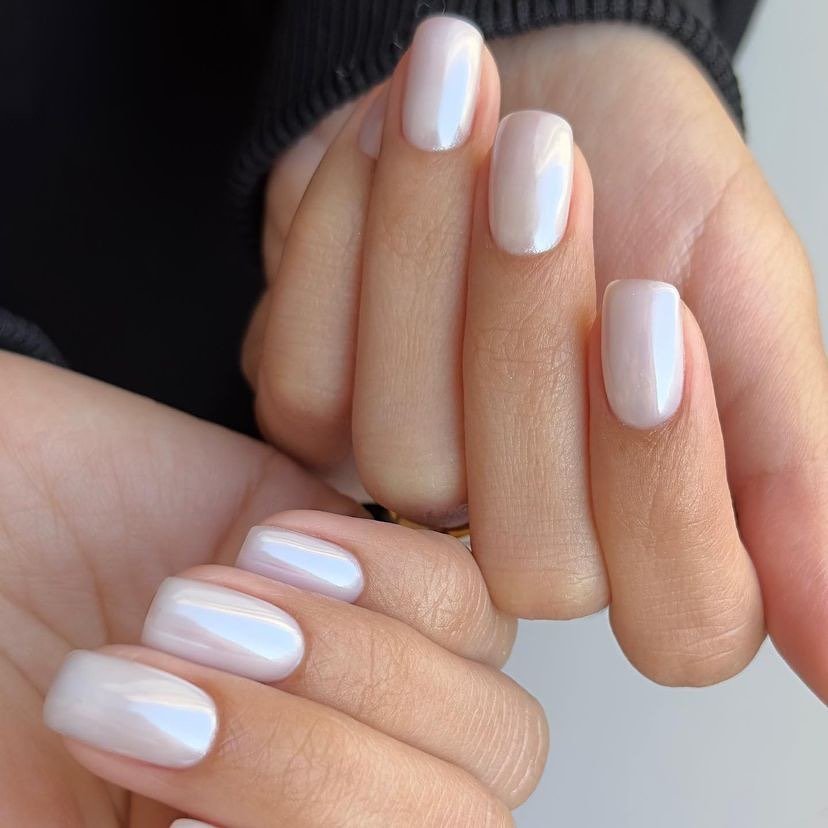
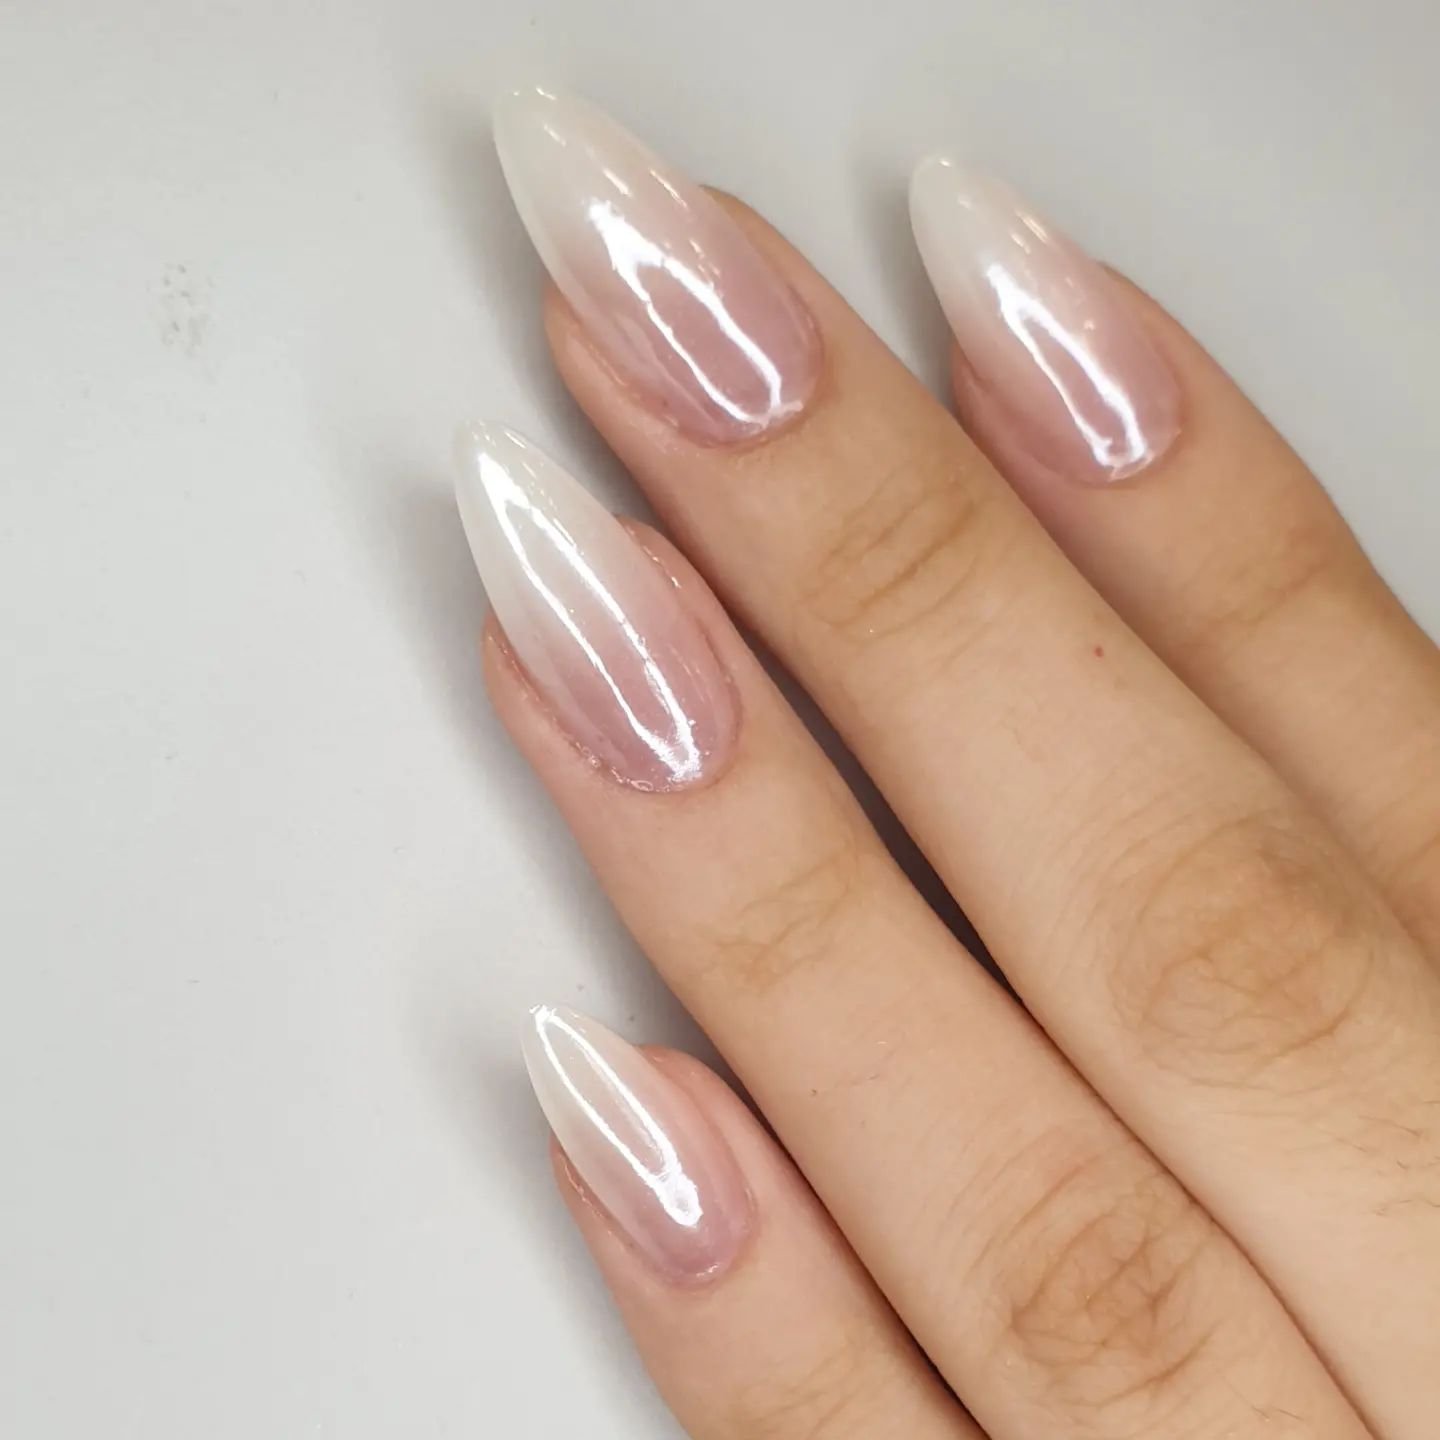
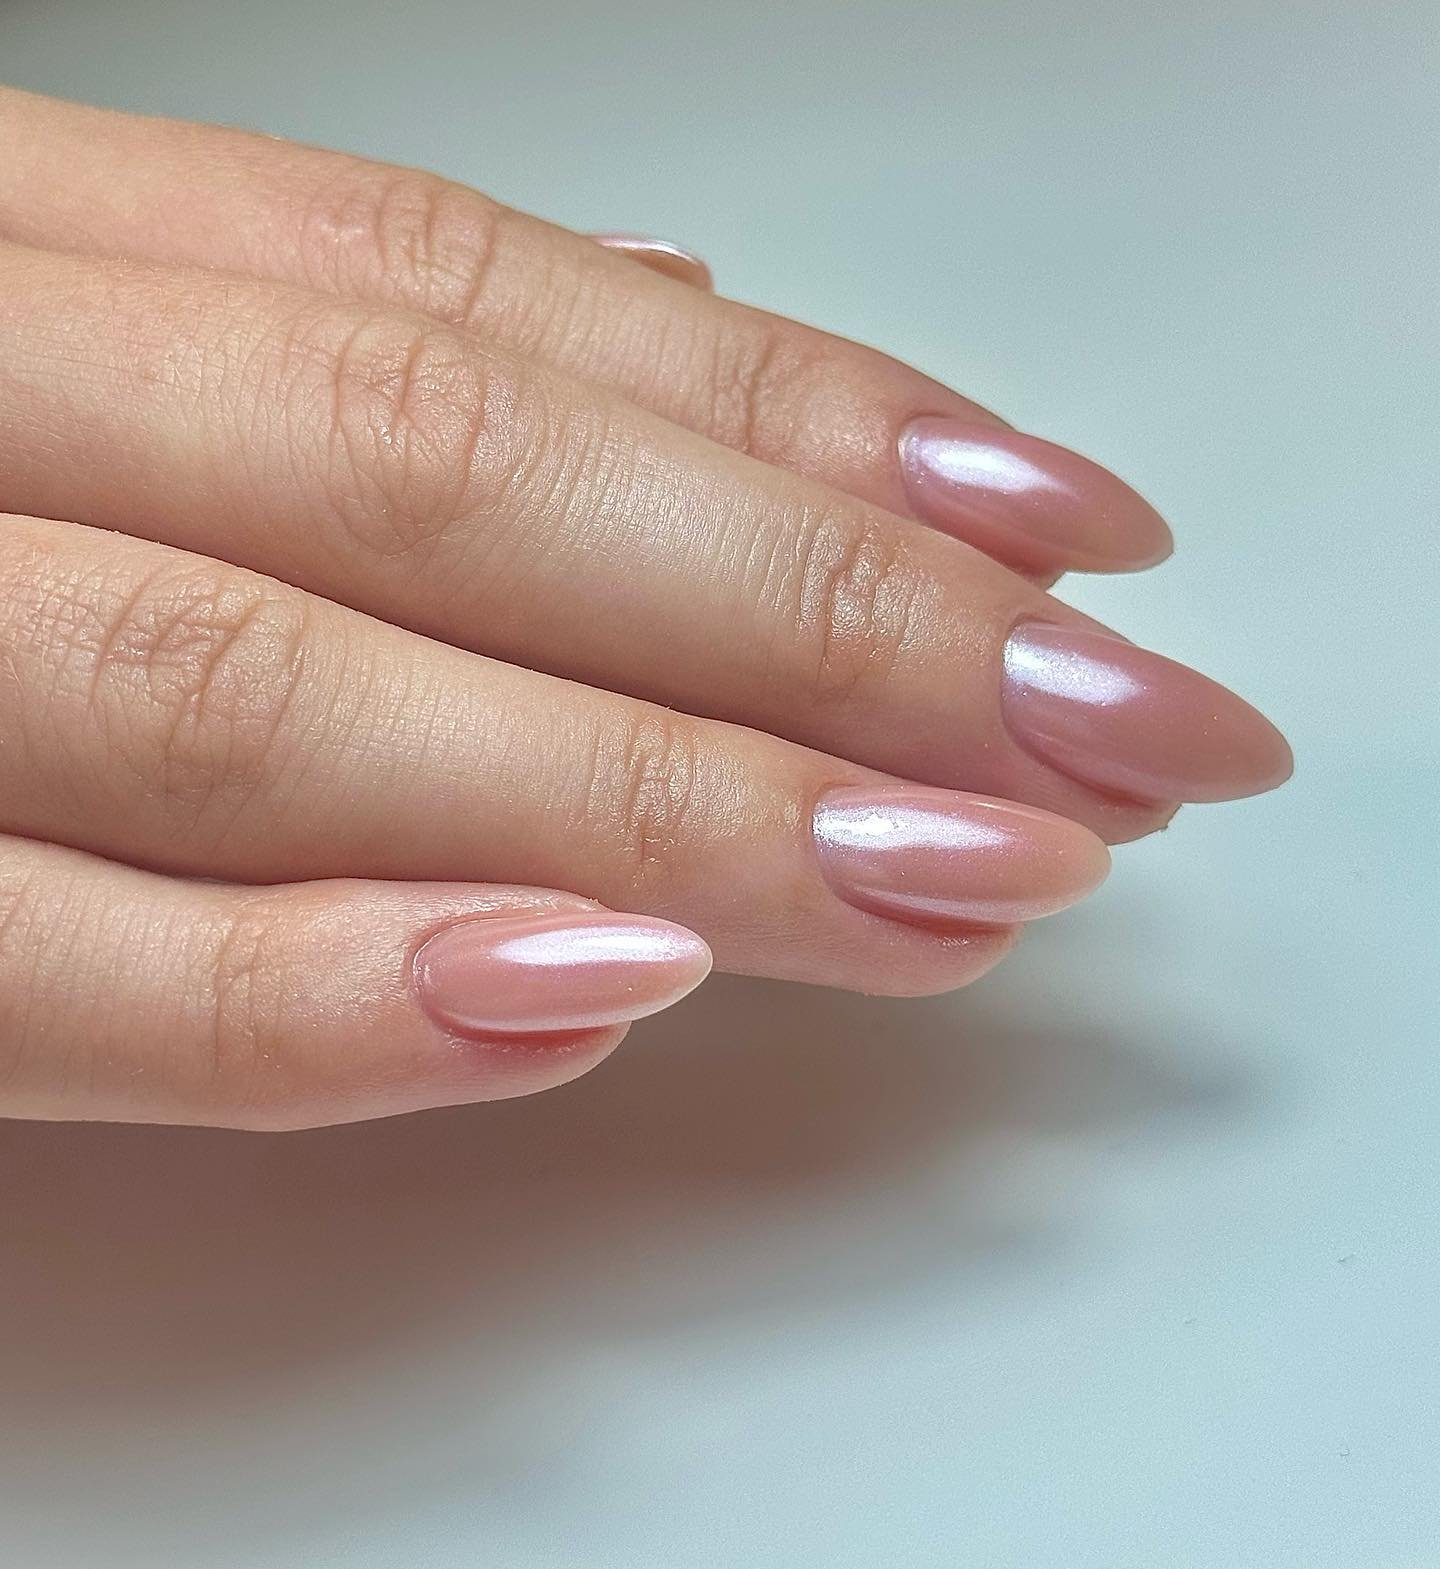
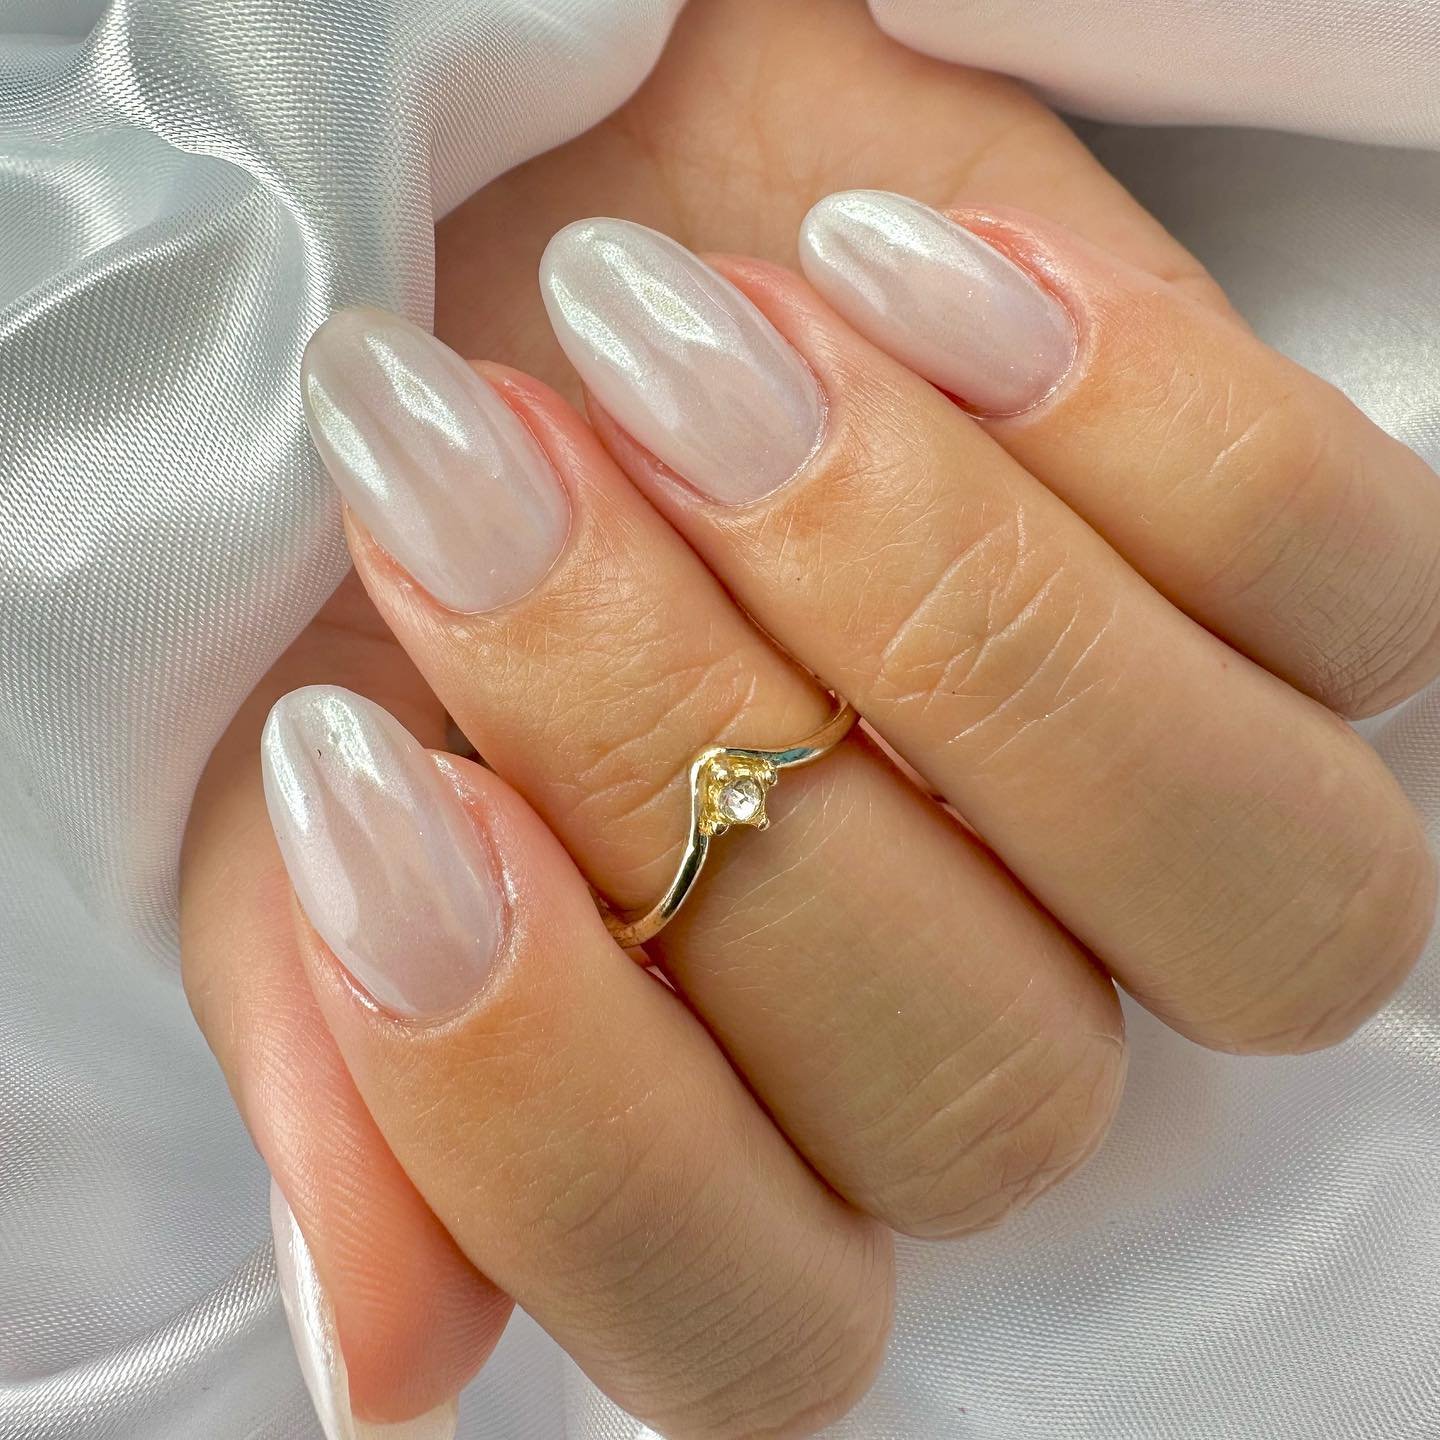
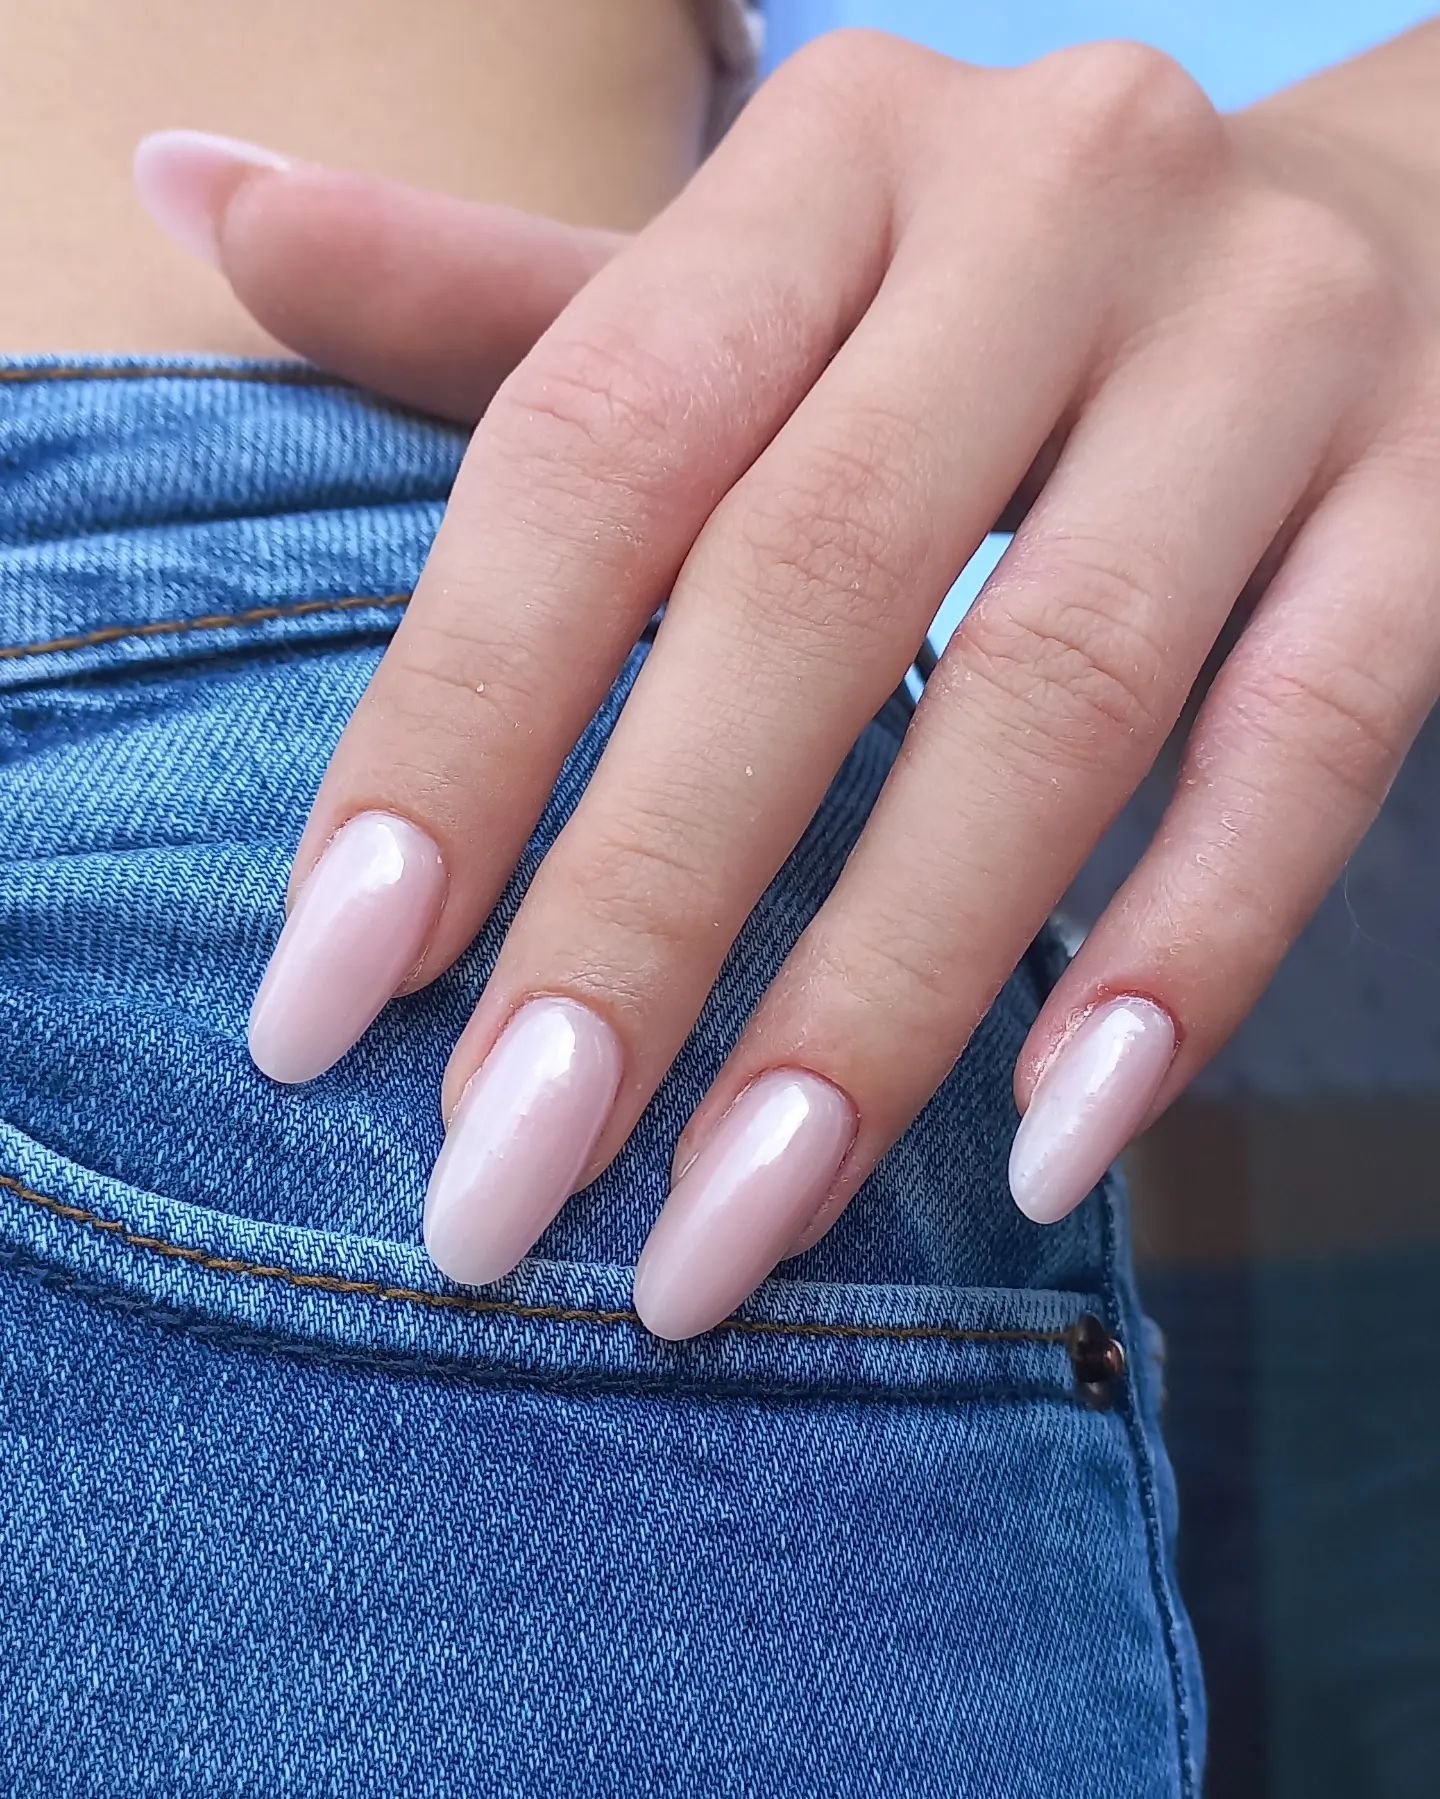
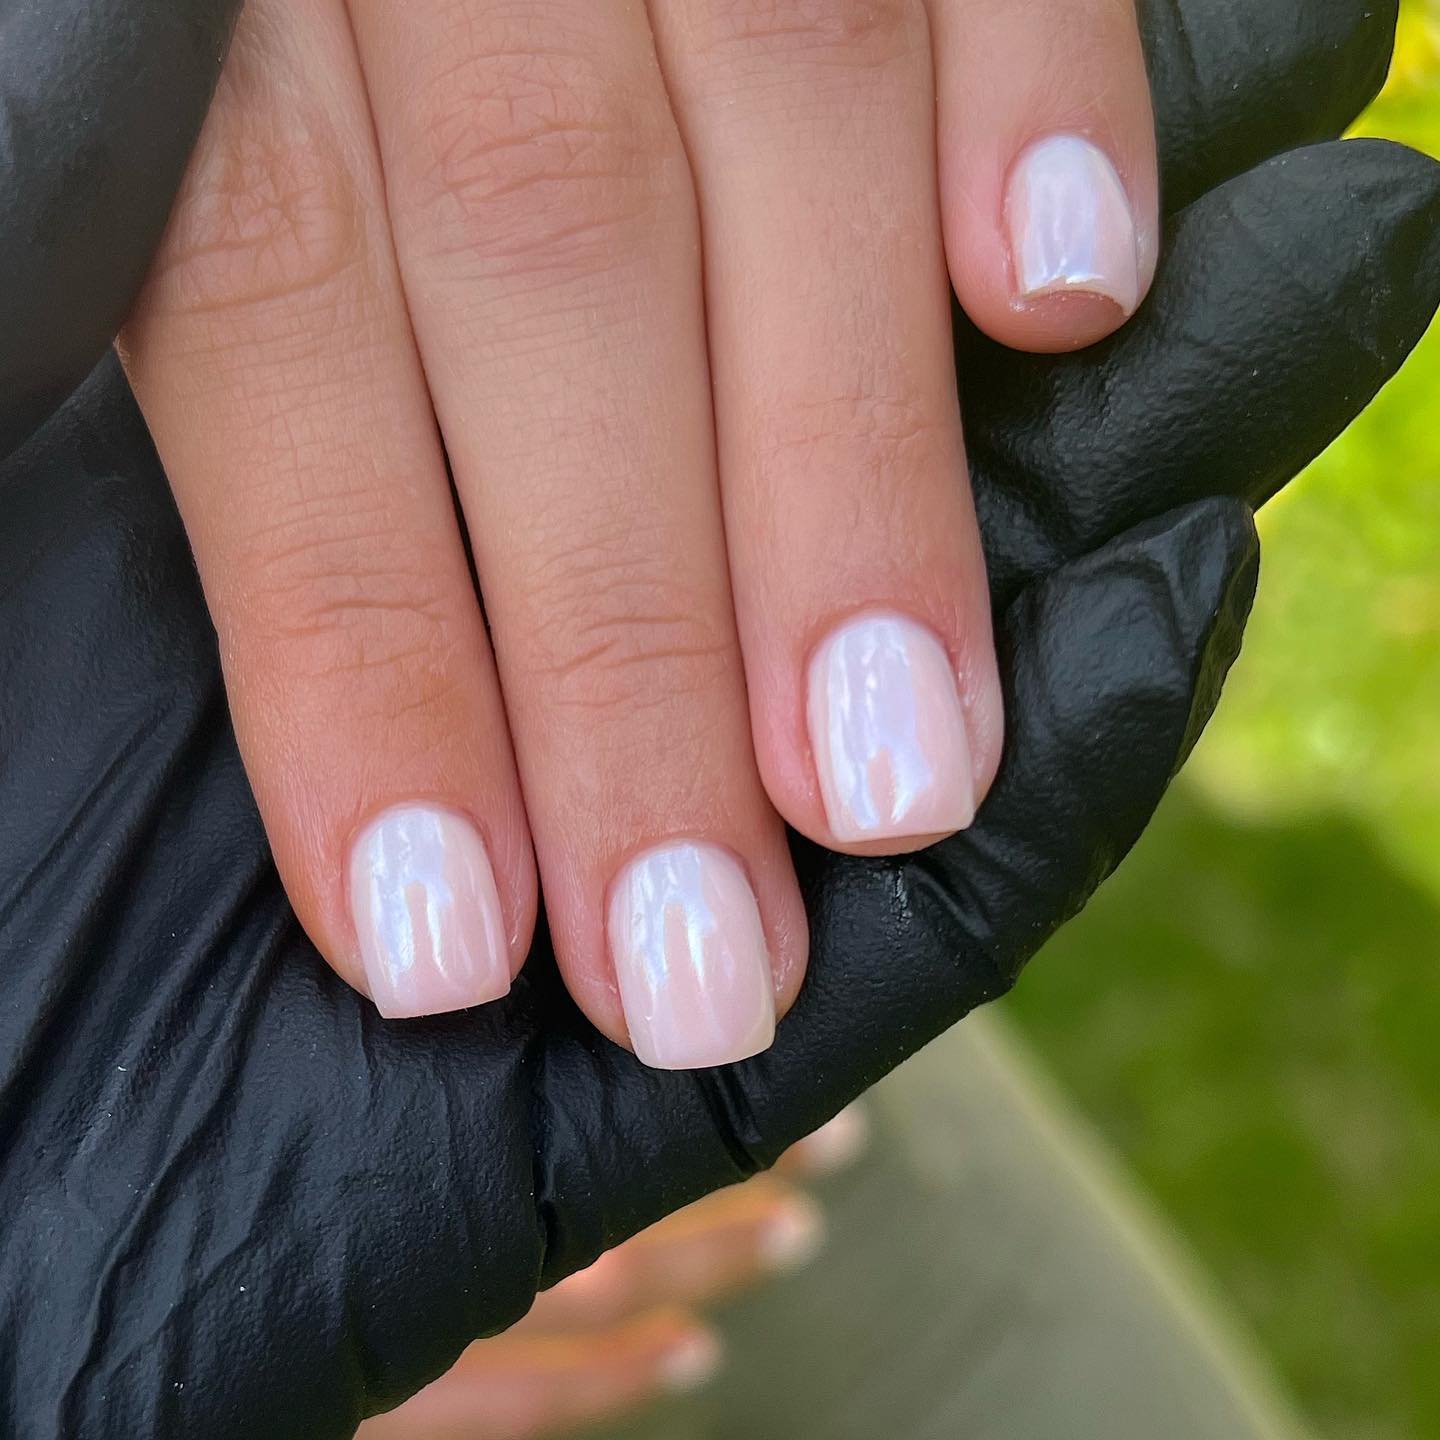
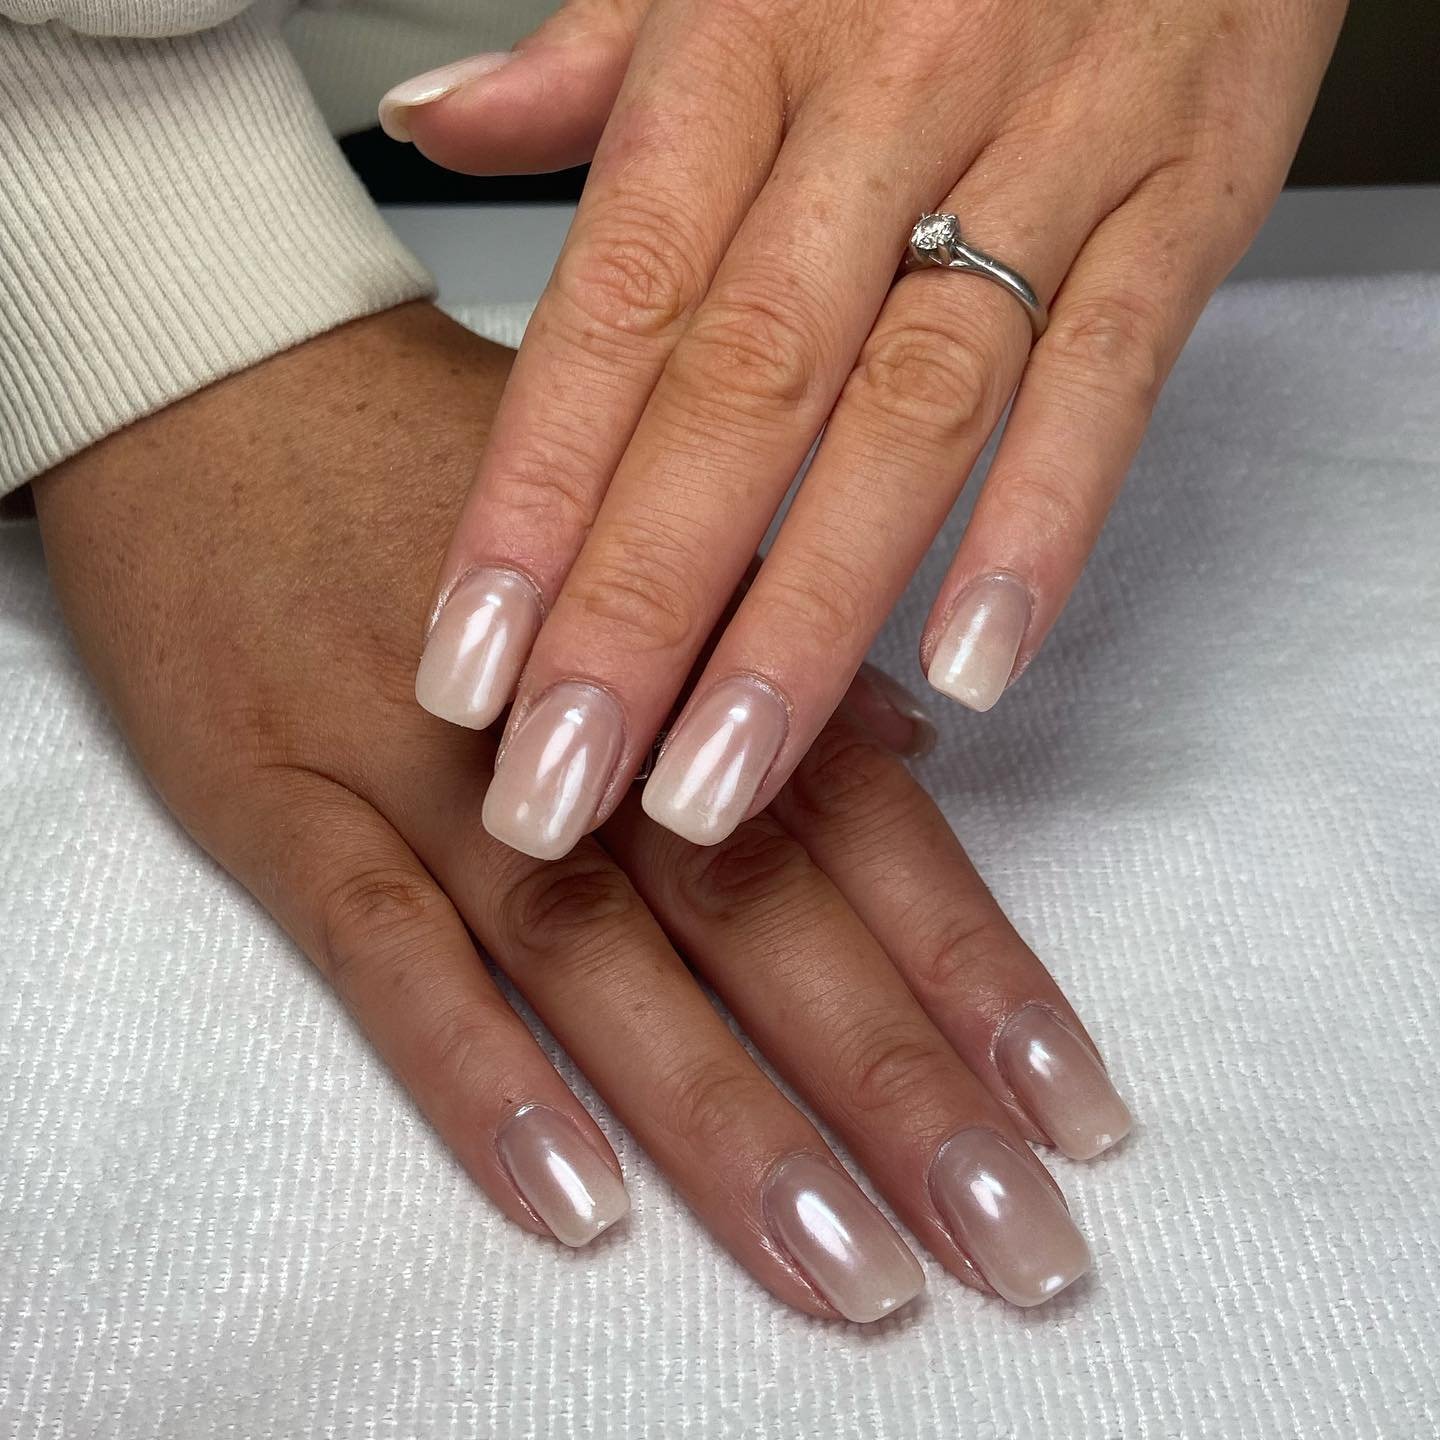
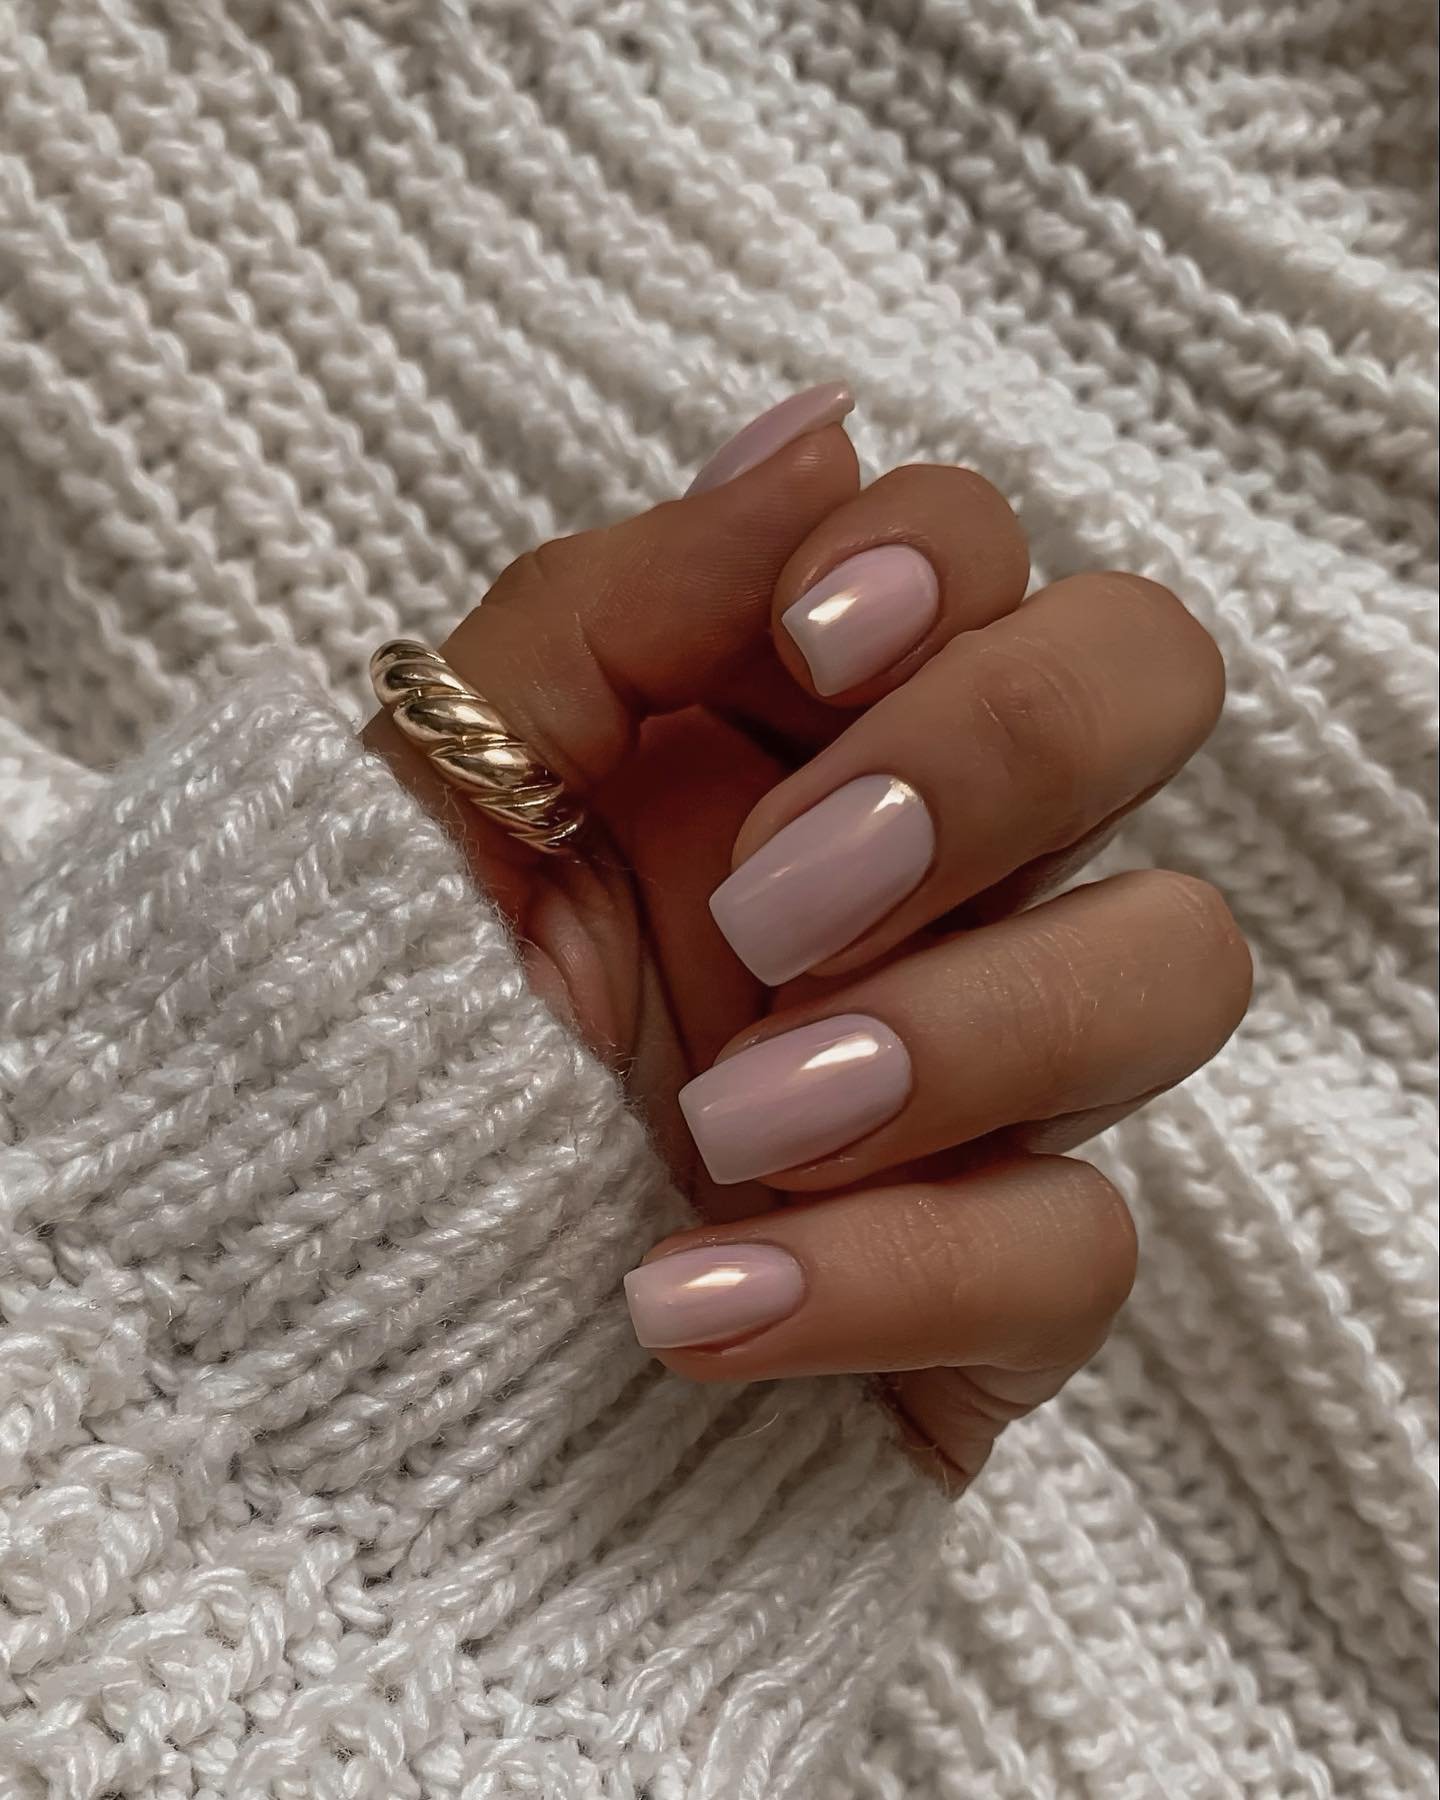
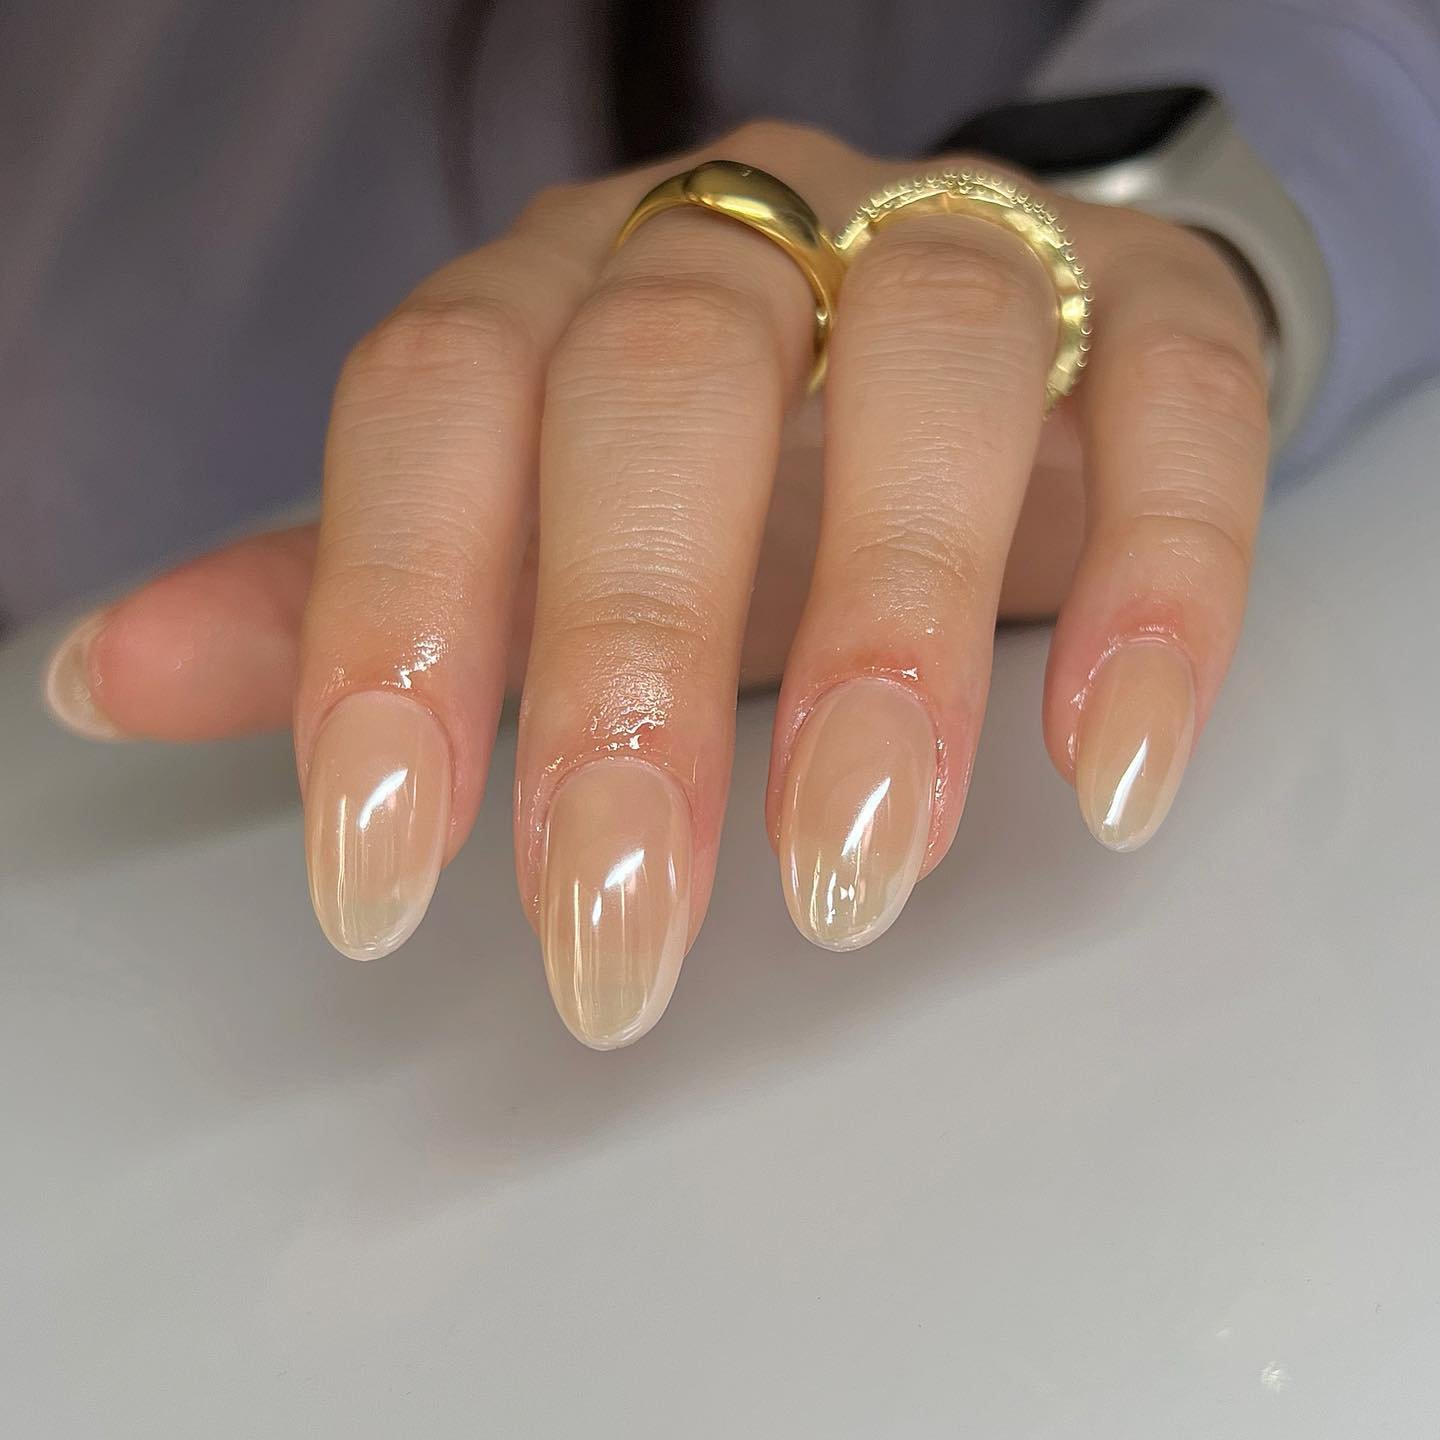
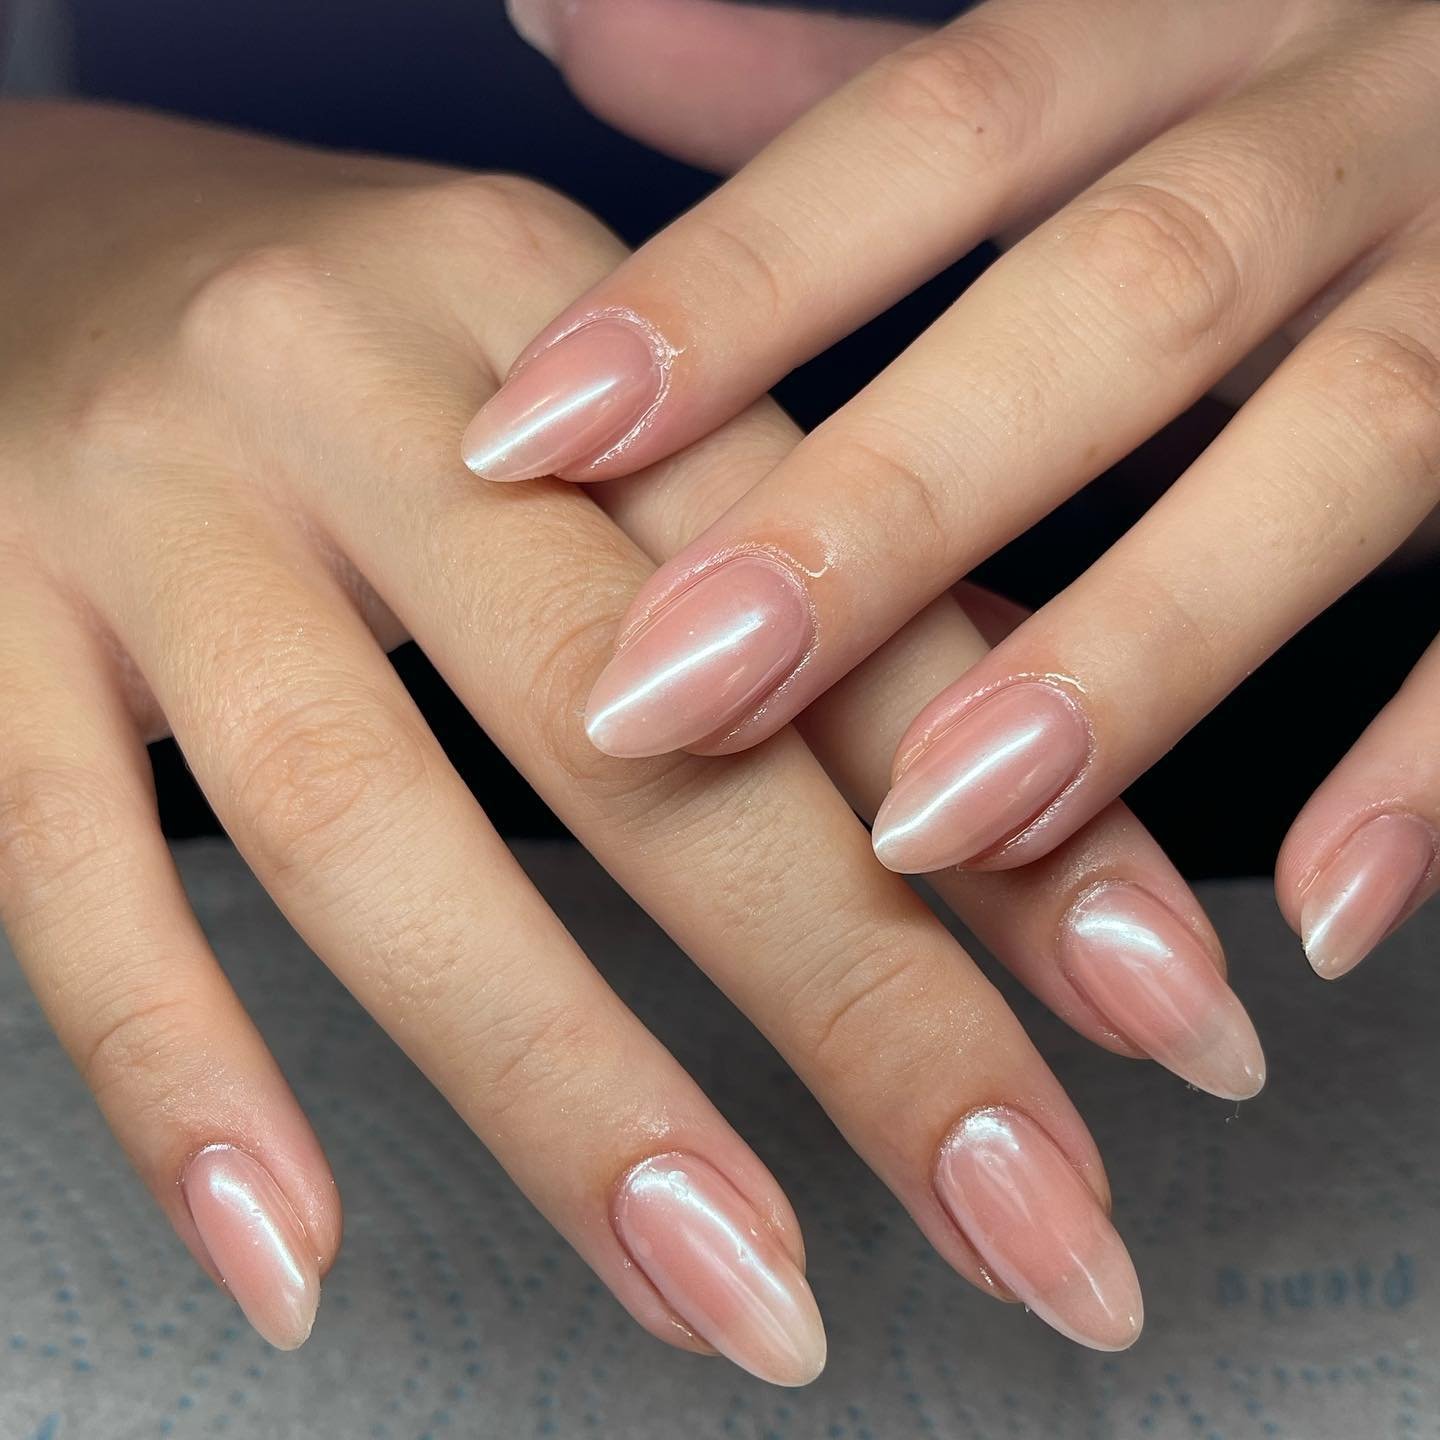
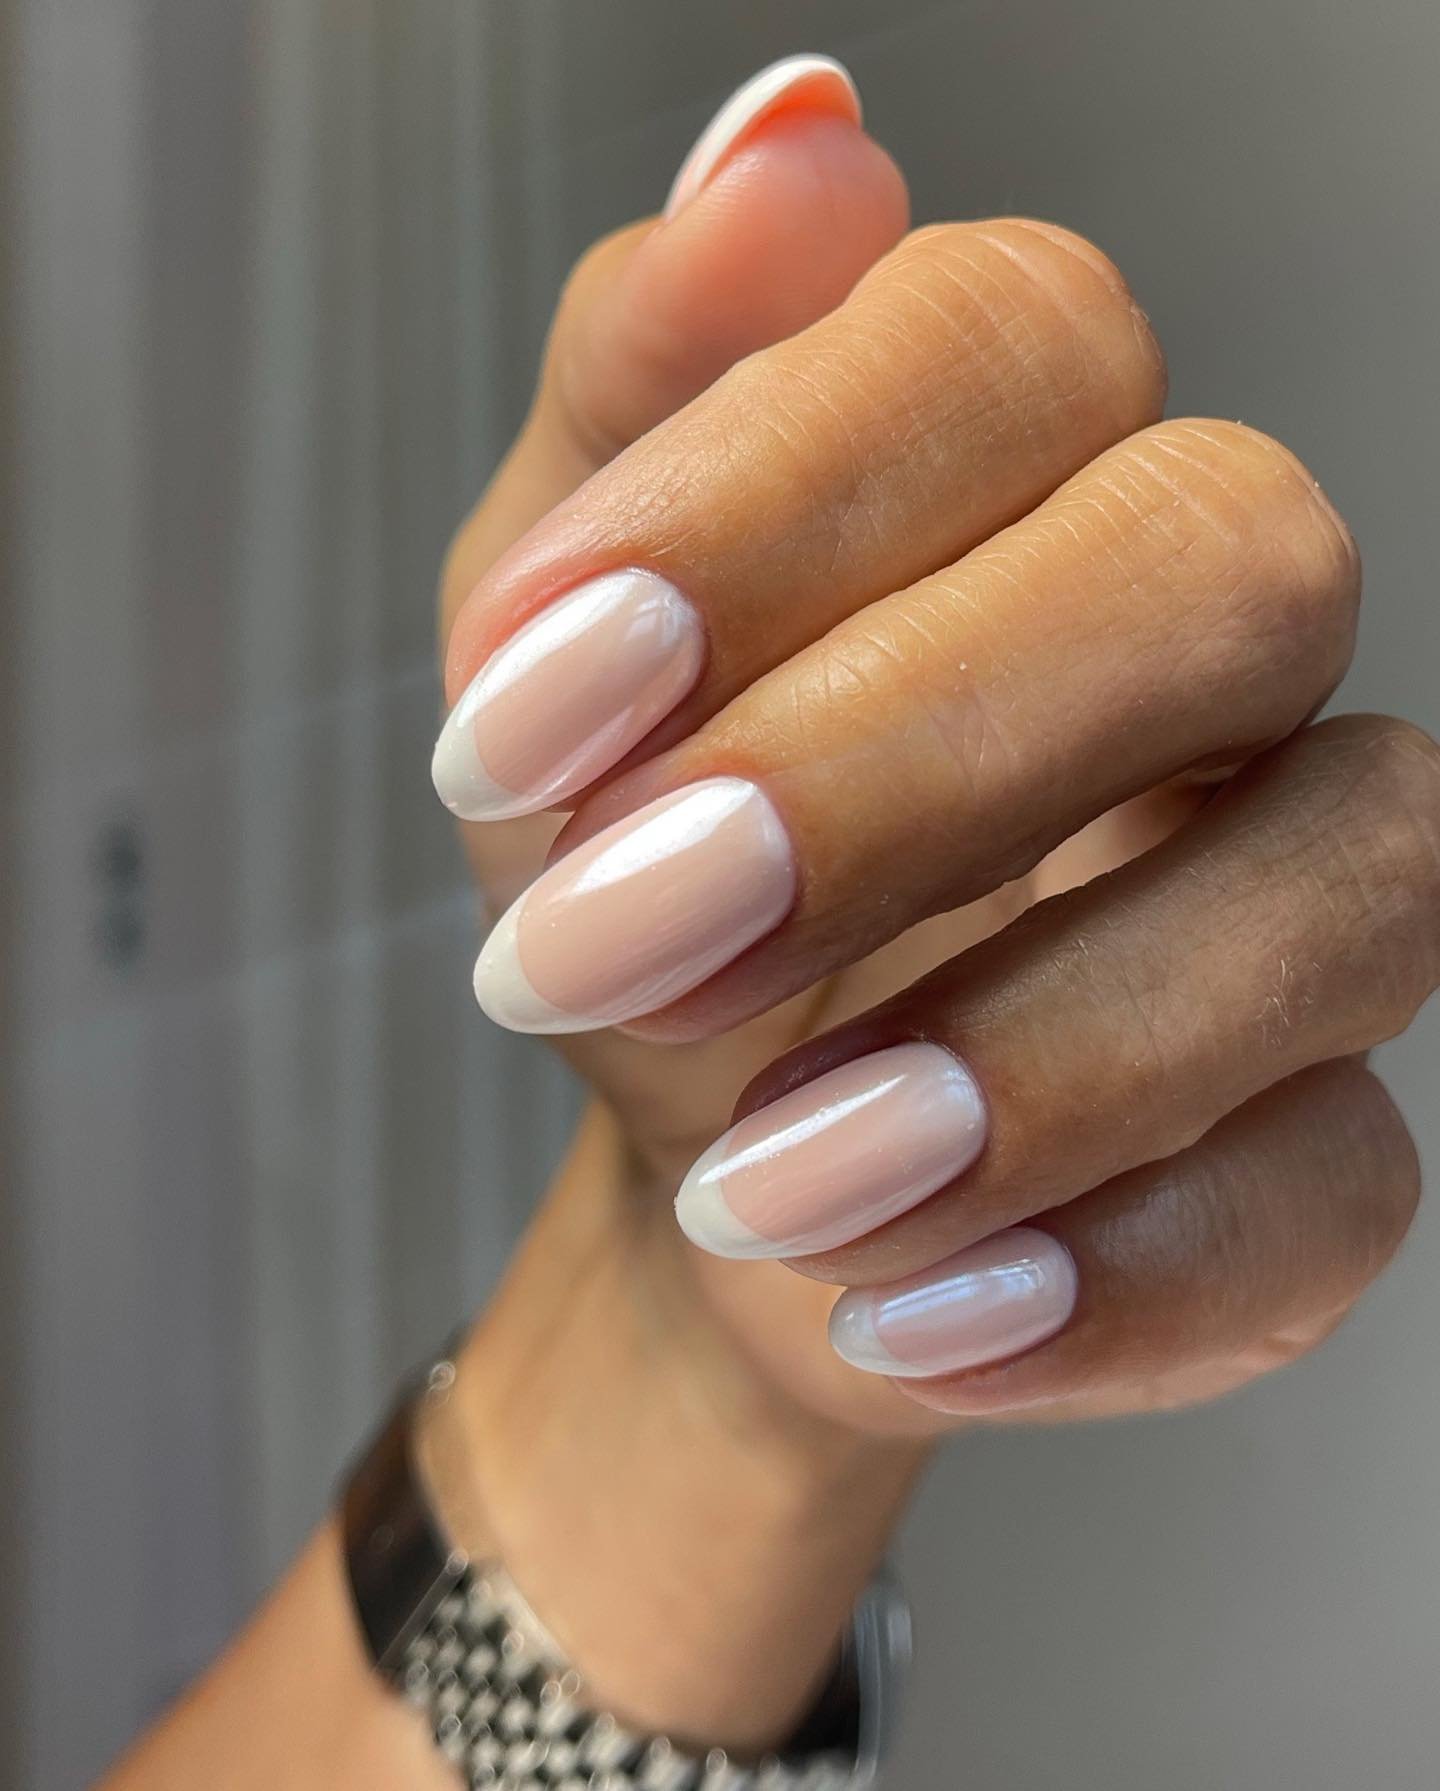
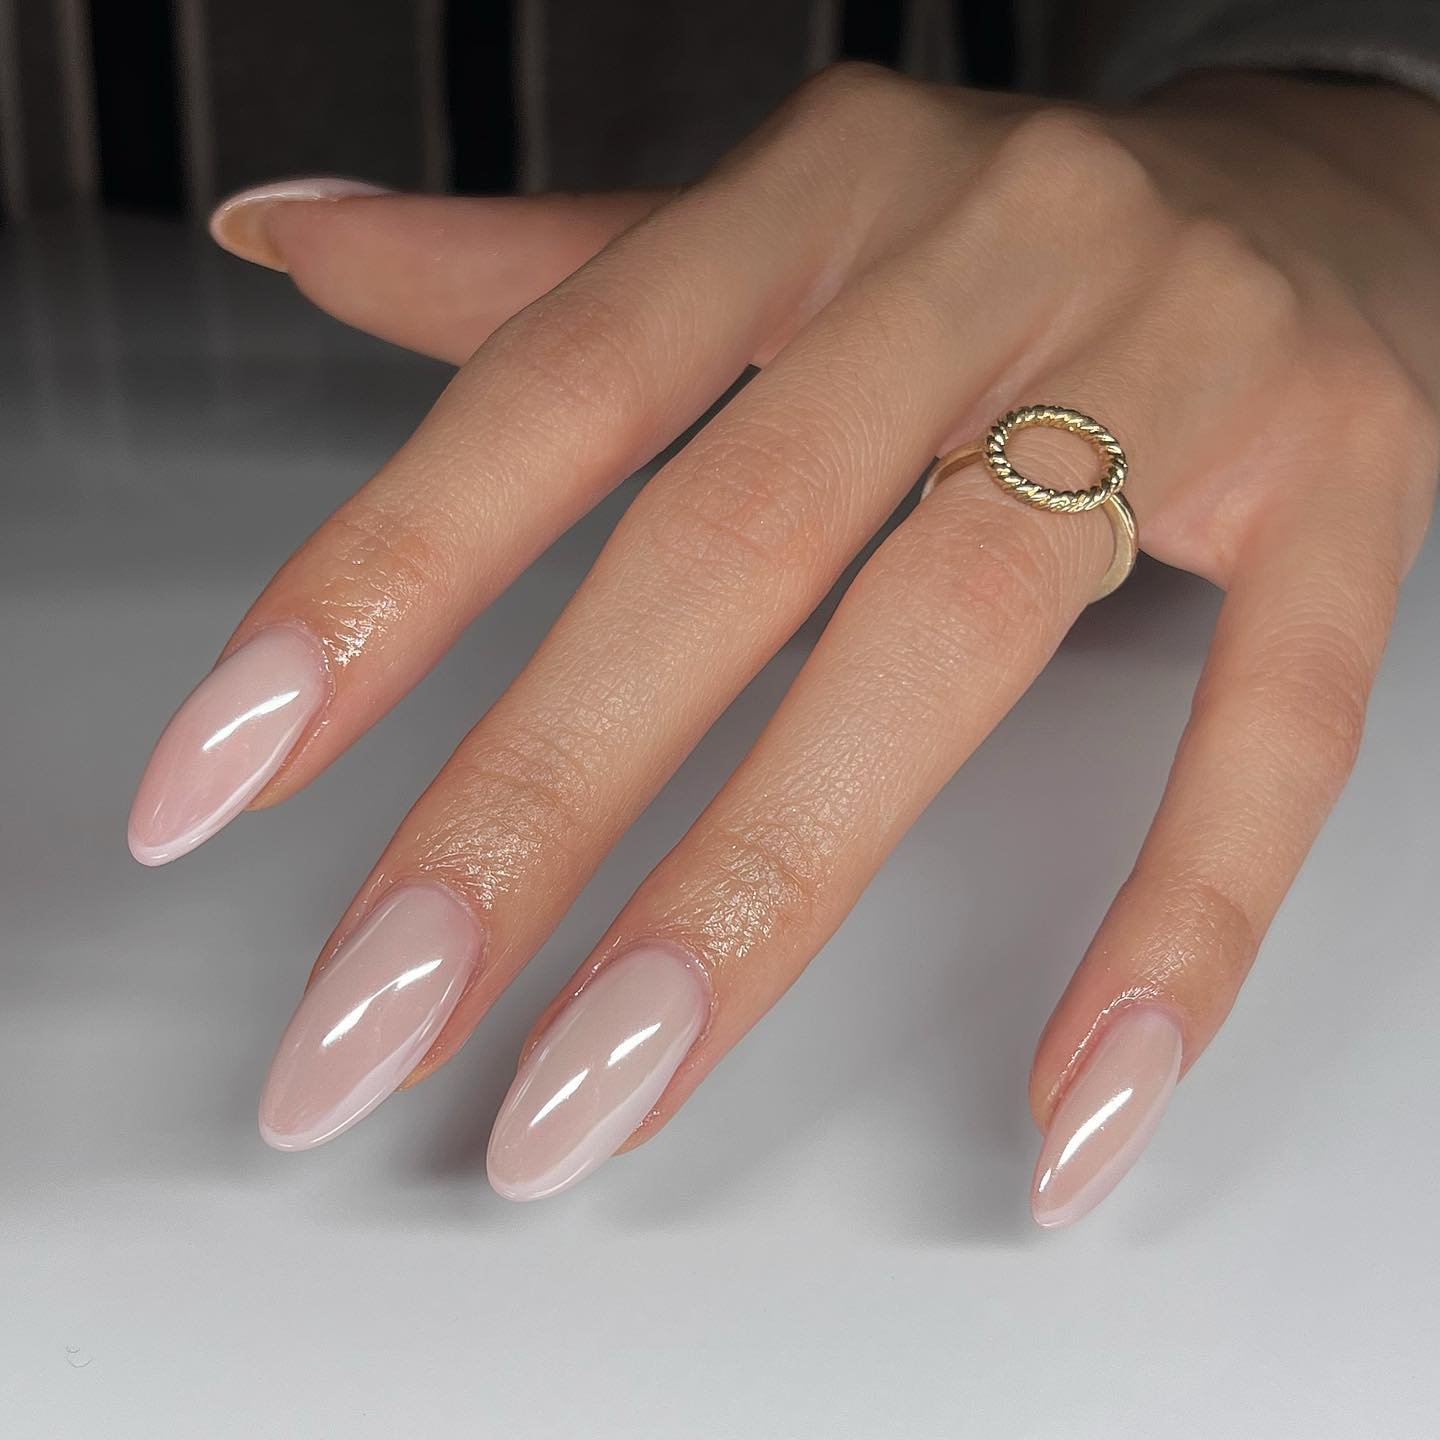
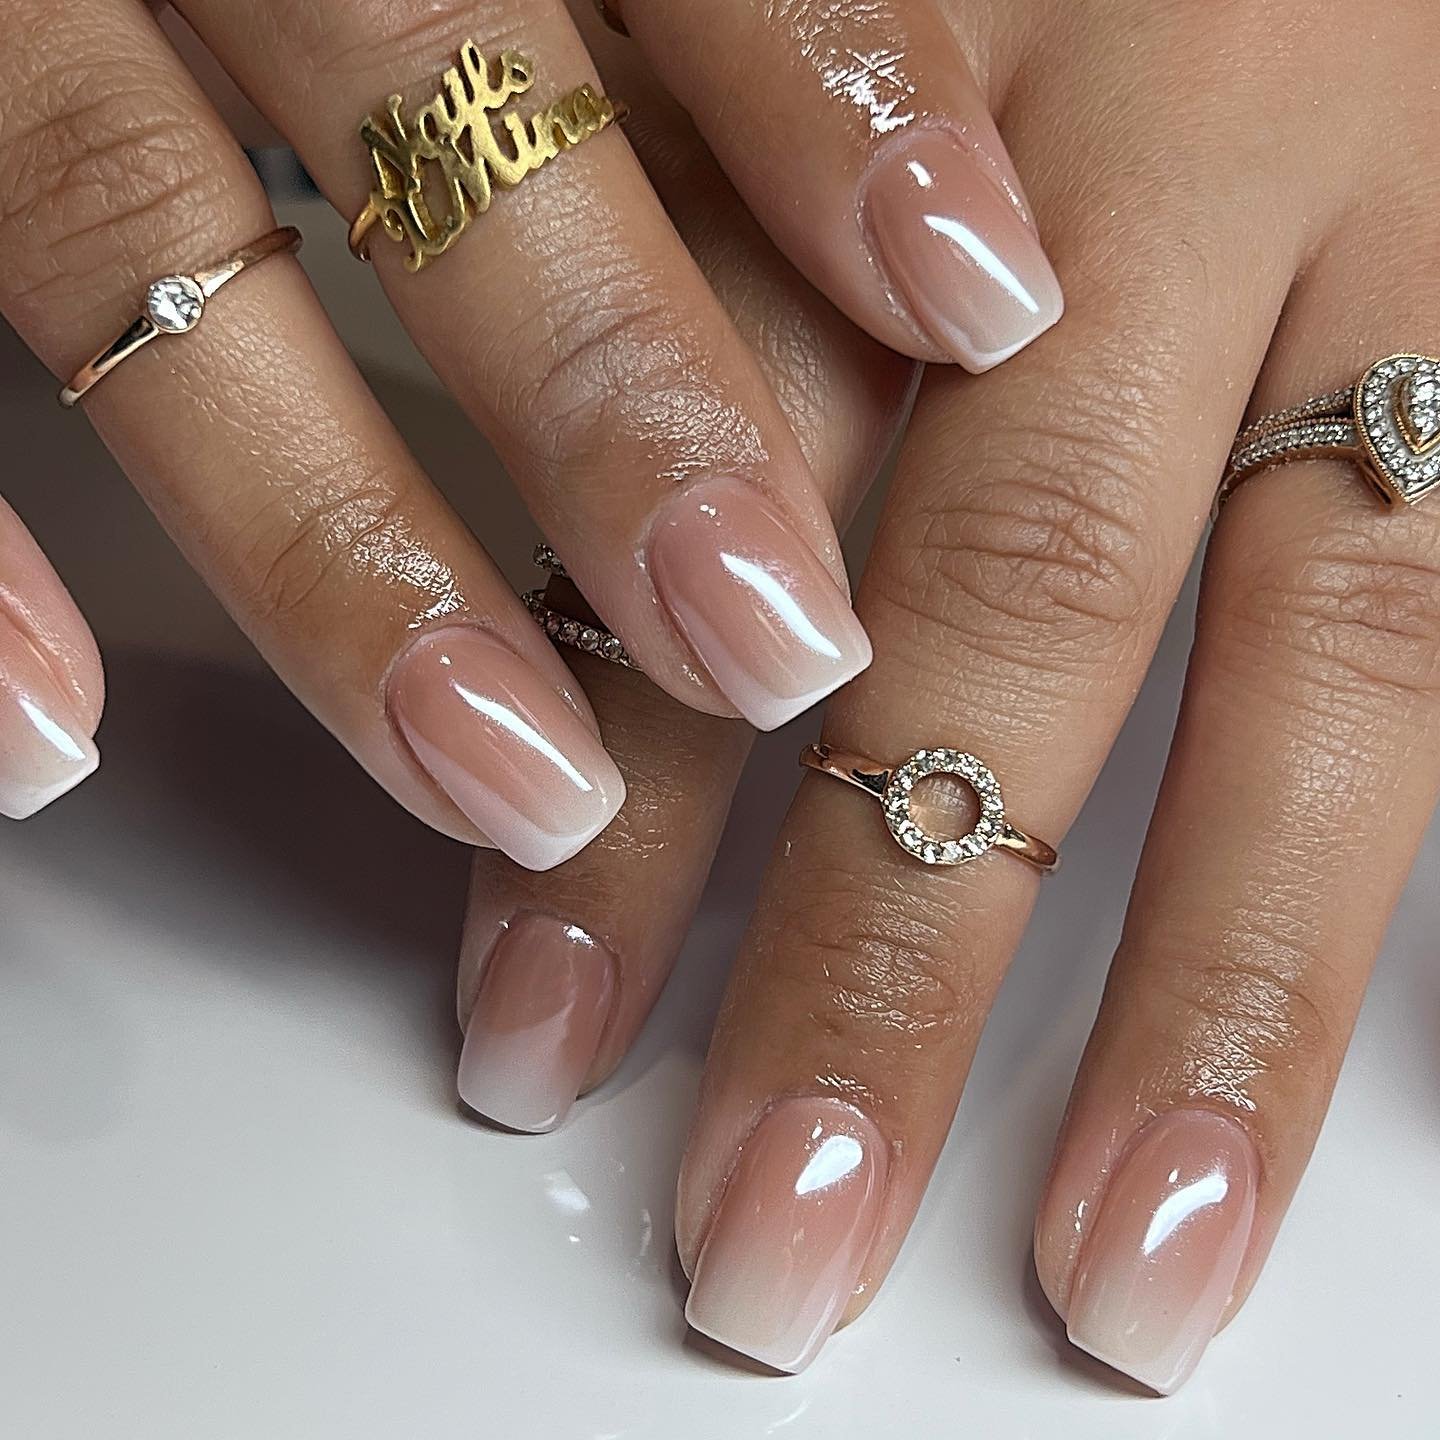
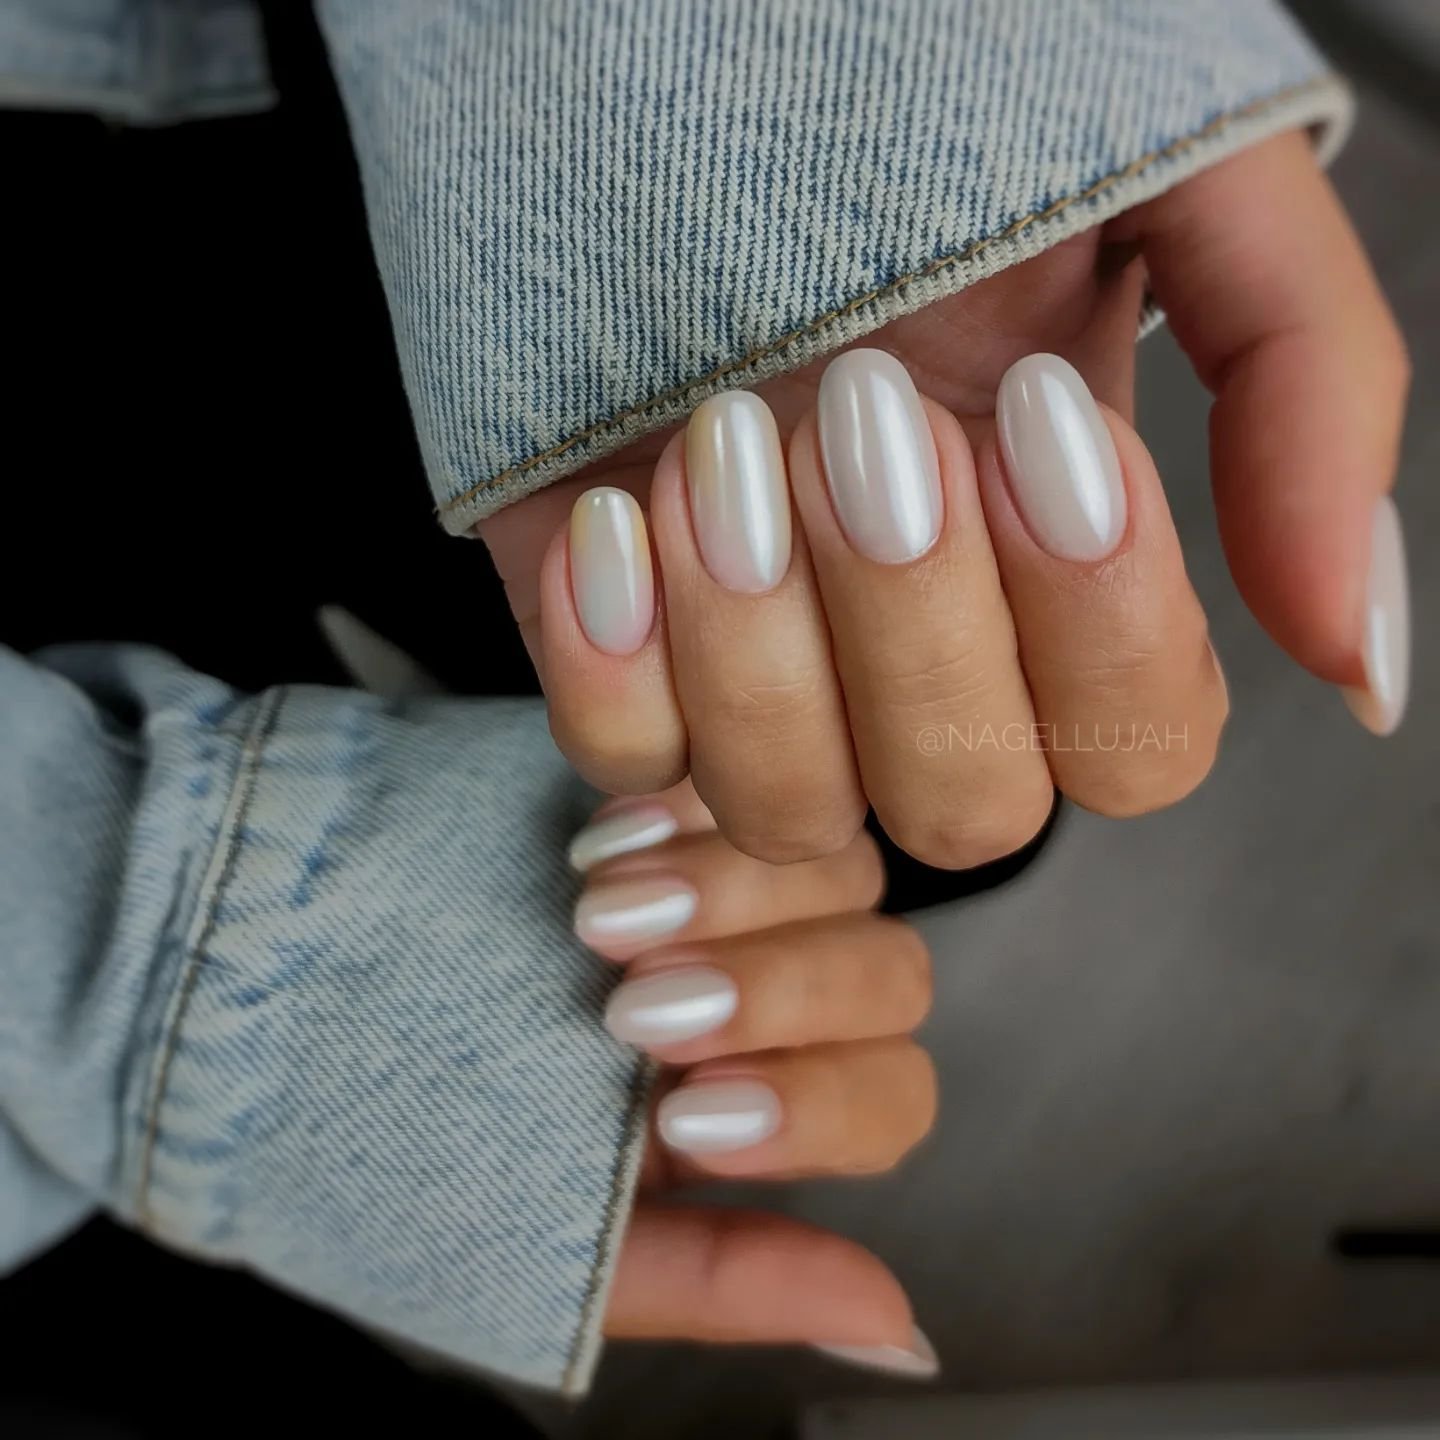
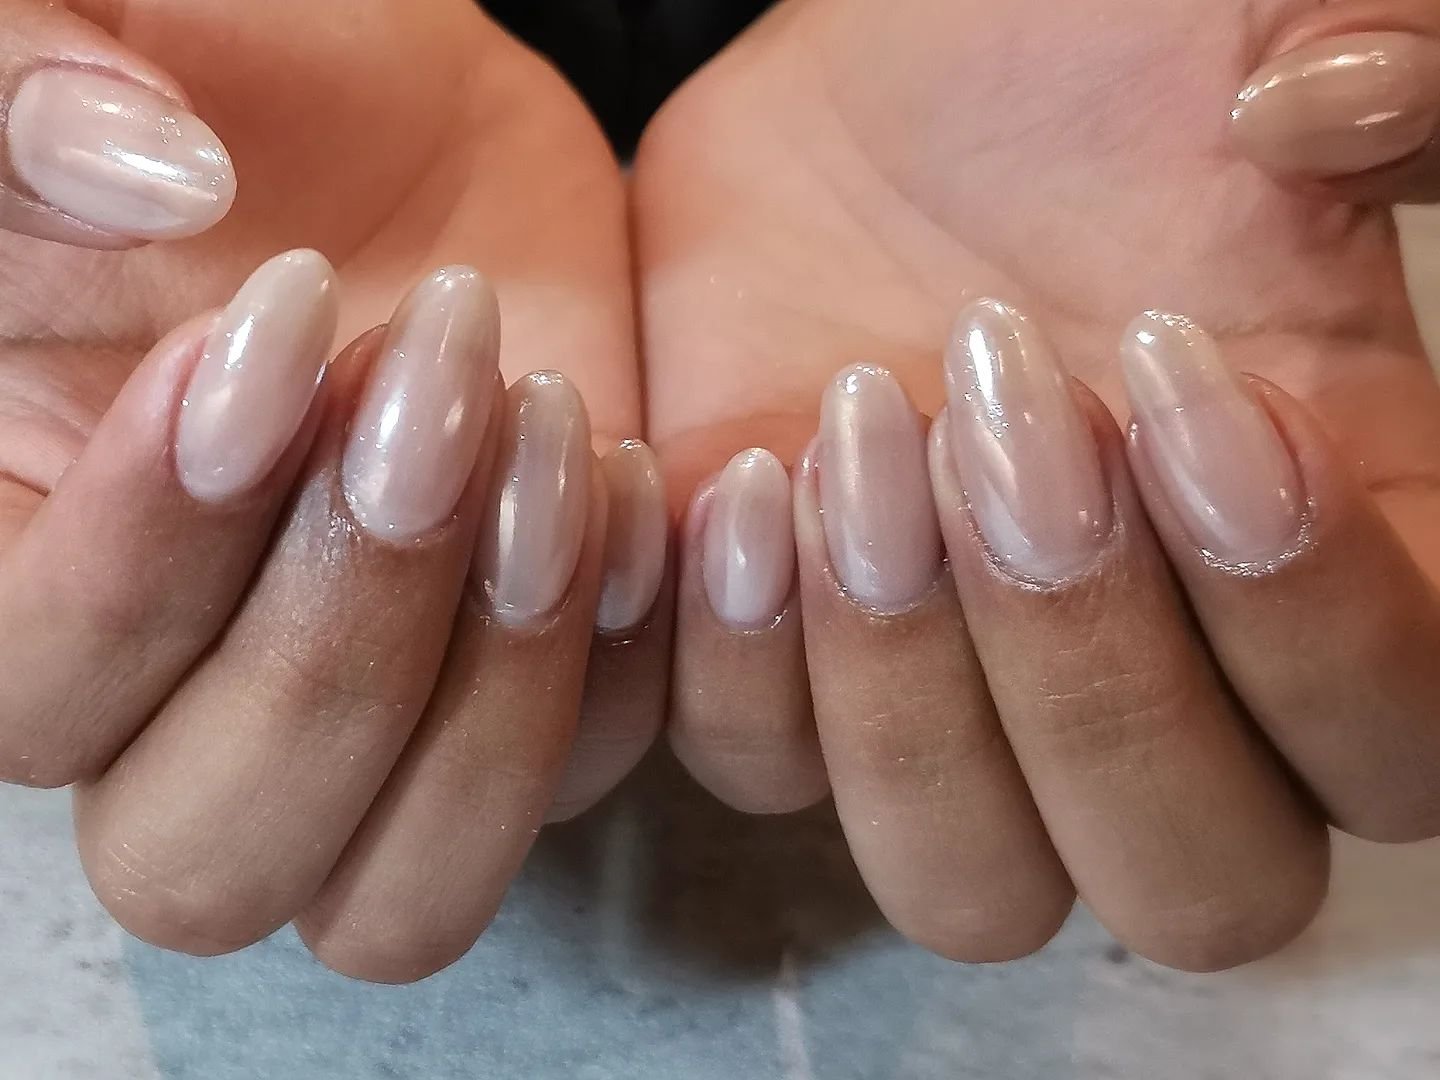
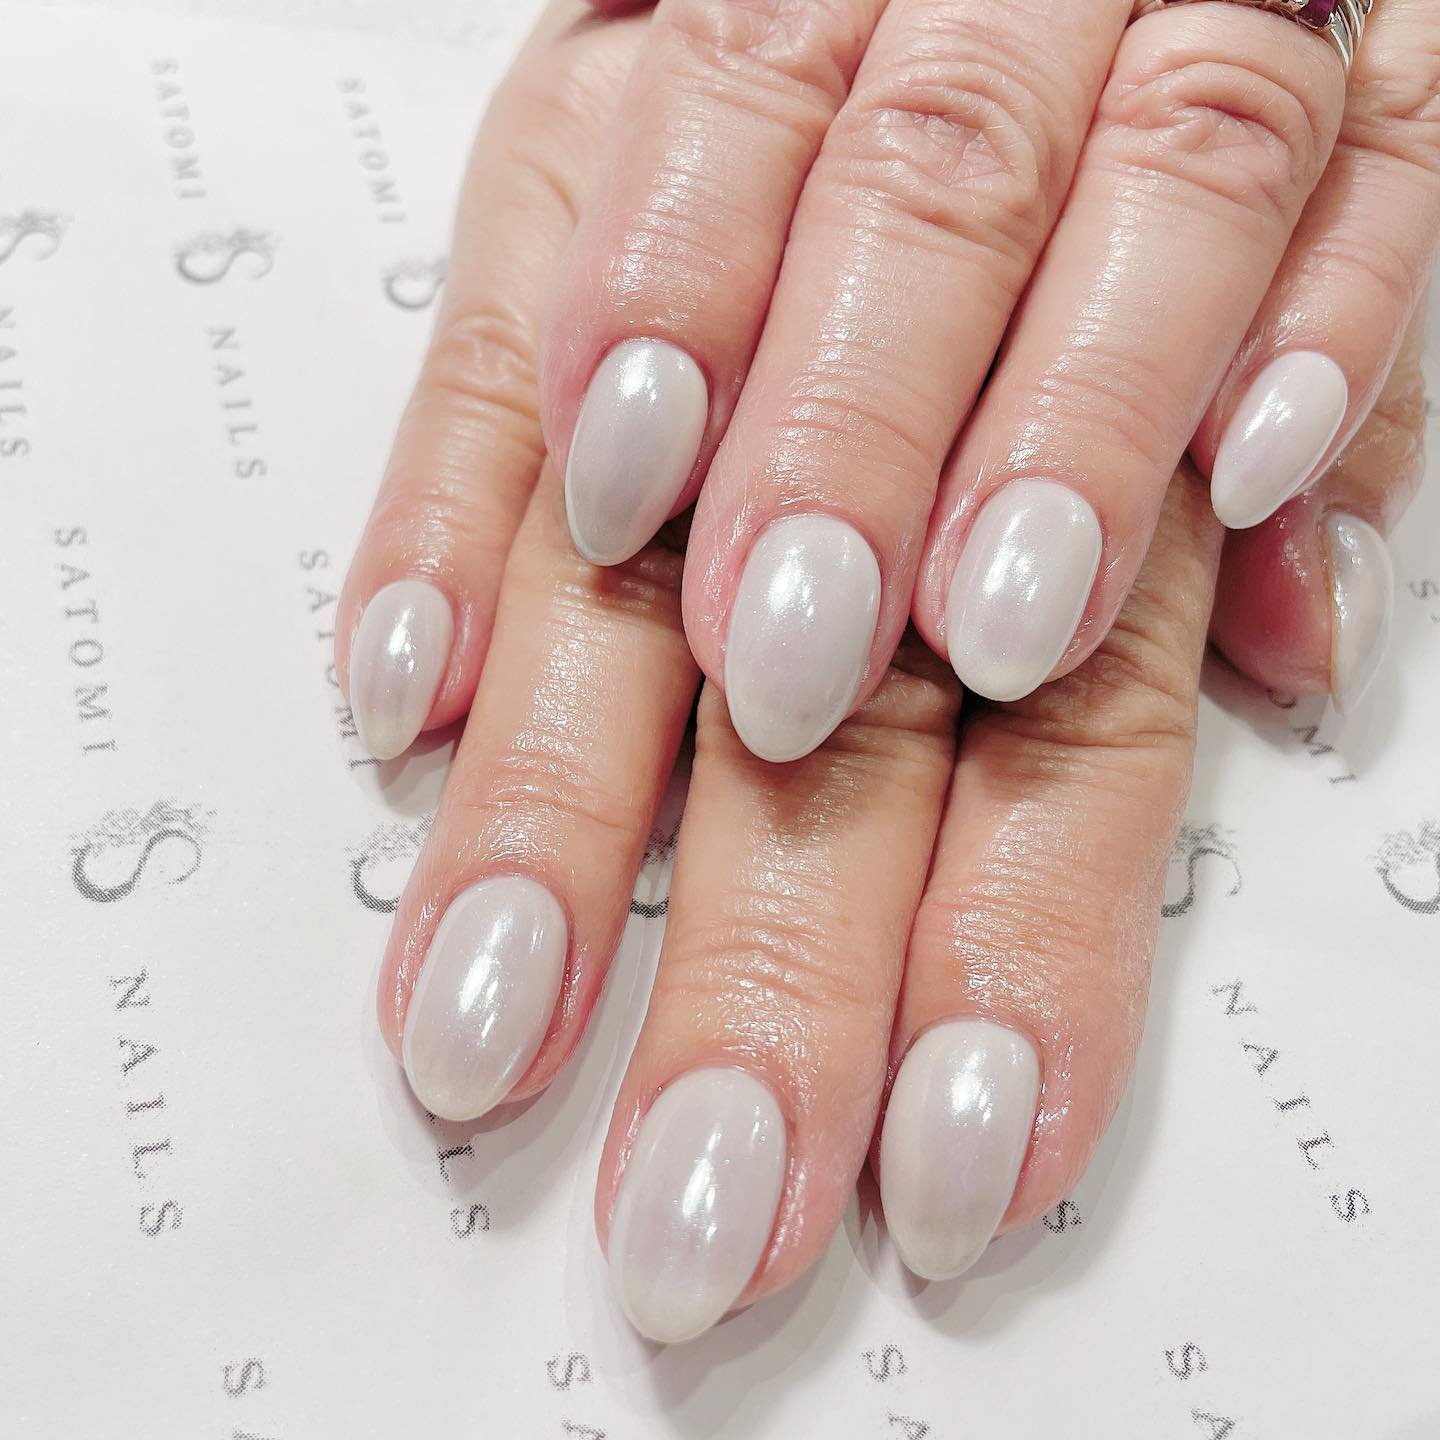
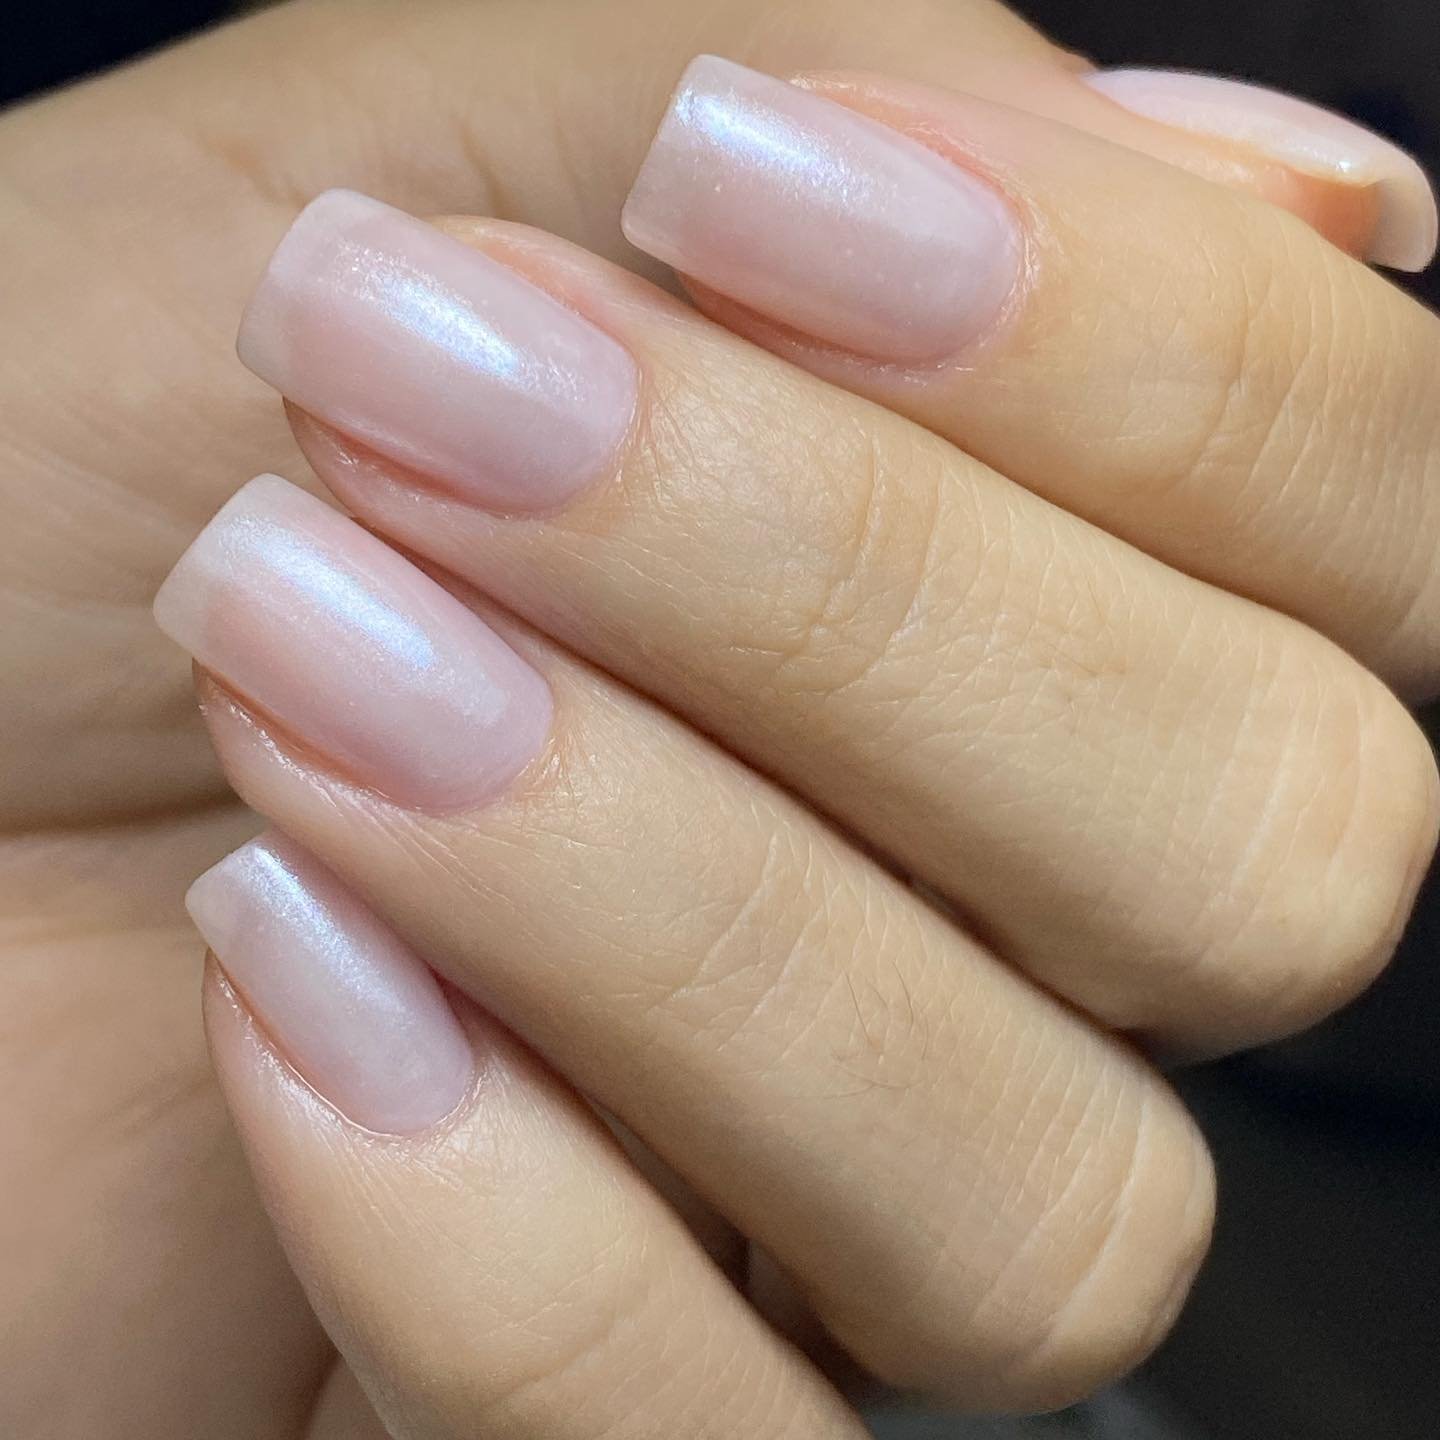
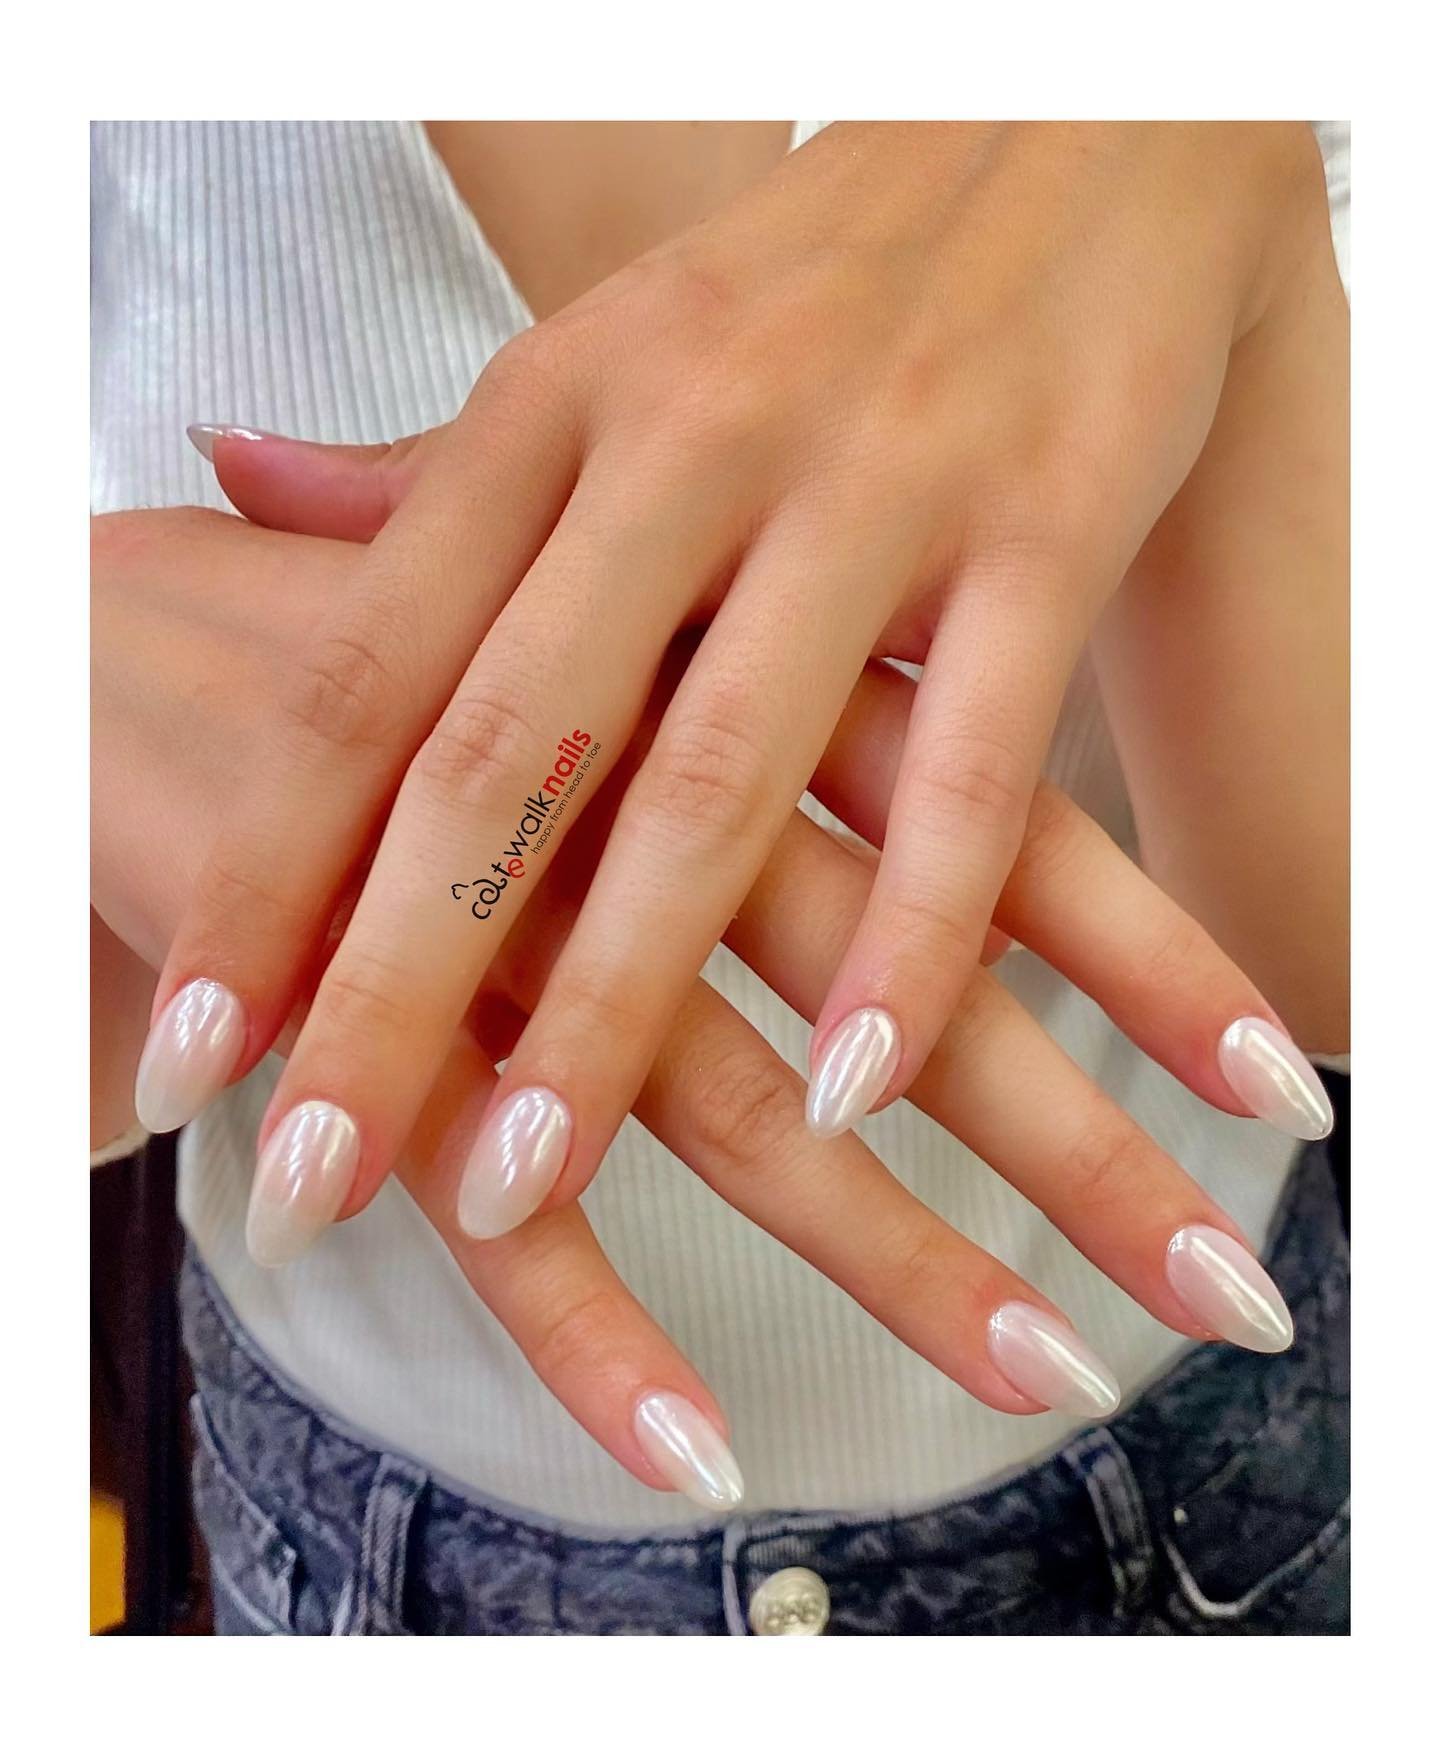
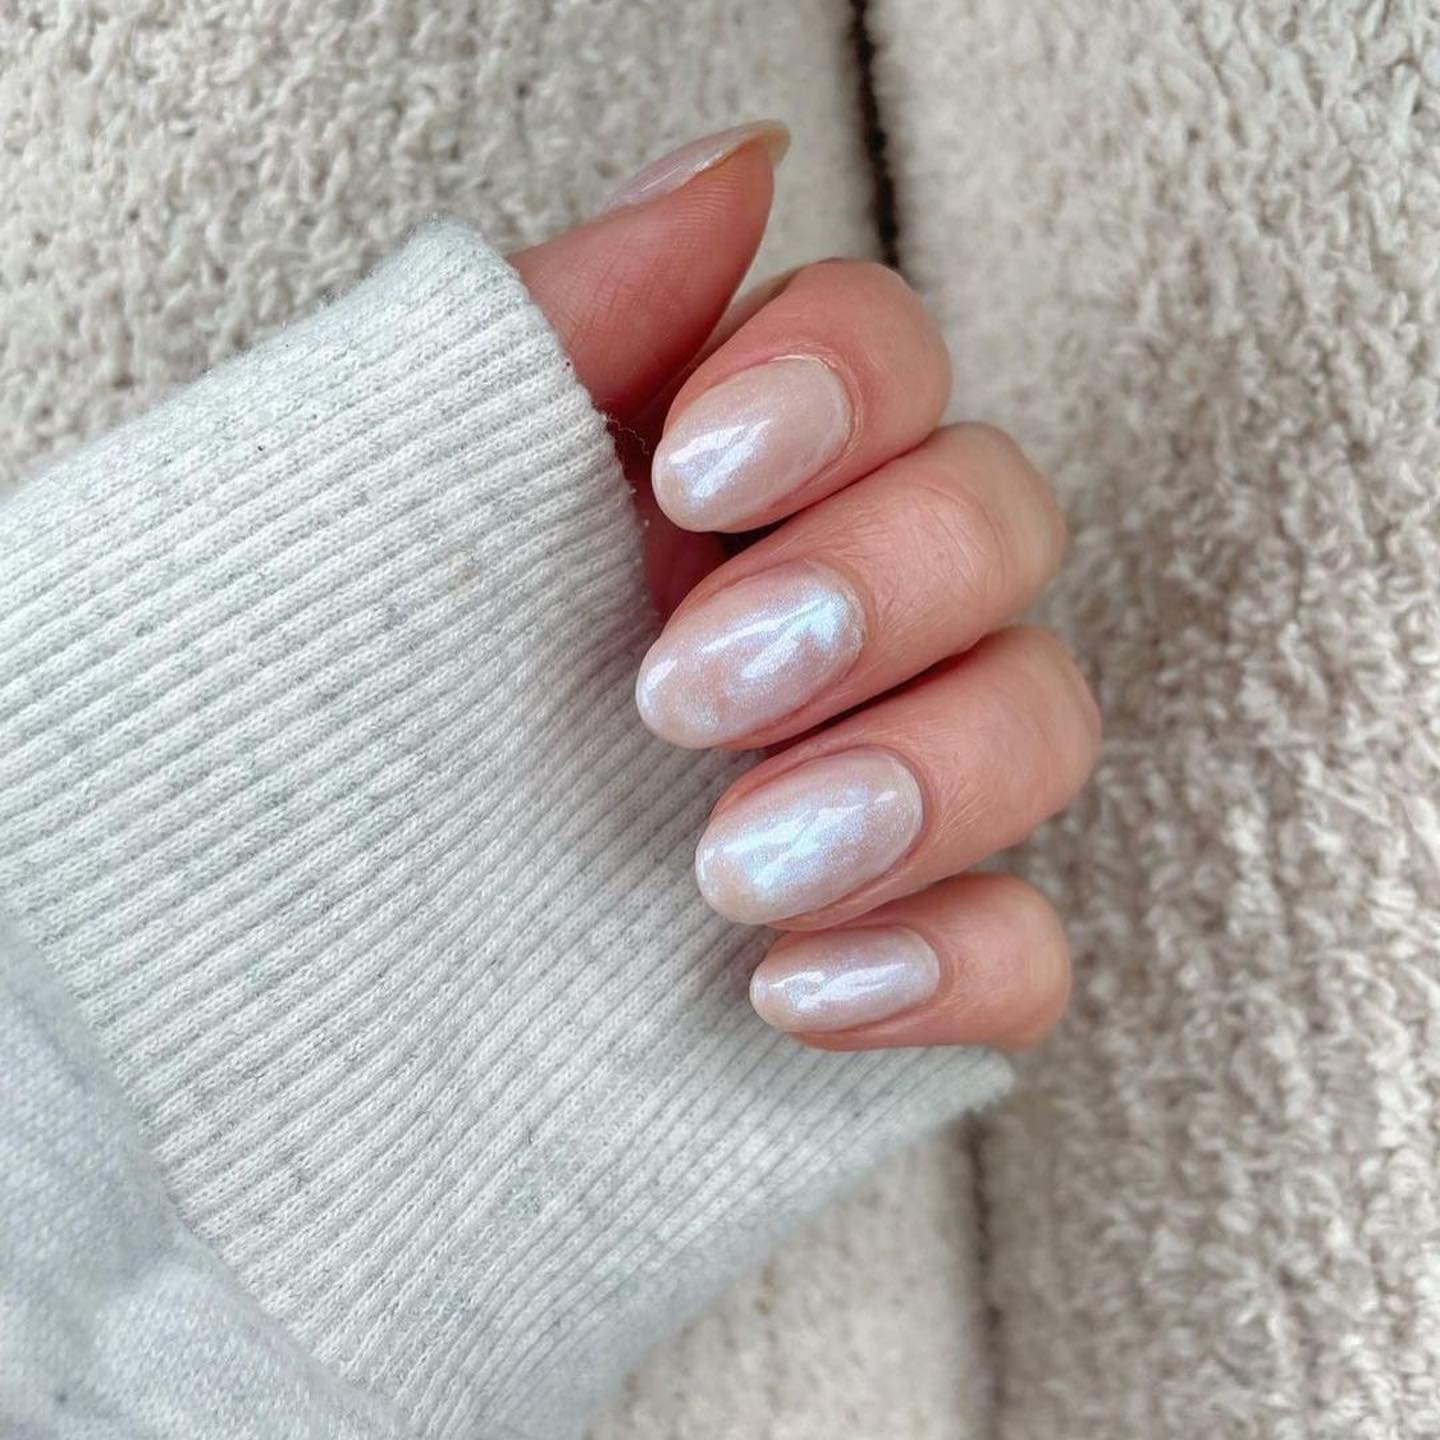
If you’re looking for a new nail trend to try, you might want to check out glazed donut nails. This manicure style is inspired by the delicious treat that has a shiny and smooth layer of glaze on top. It was popularized by Hailey Bieber, who rocked the look at the Met Gala in 2022. Since then, many people have been obsessed with this chic and minimalist nail design that works for any occasion.
Glazed donut nails are not as flashy as chrome nails, but they have more dimension than a regular cream polish. They create a gauzy, sheer, and delicate effect that resembles the glaze on a fresh donut. You can choose from different colors, such as white, pink, lavender, or neon, depending on your preference.
In this blog post, we’ll show you how to get glazed donut nails at home in five easy steps. We’ll also share some tips and tricks to make your manicure last longer and look more professional. Finally, you’ll find 21 pictures of glazed donut nails as inspiration. Ready to get started? Let’s get to it!
How to Get Glazed Donut Nails: The Trendy Manicure Inspired by Hailey Bieber
Step 1: Prep Your Nails
The first step to getting glazed donut nails is to prep your nails properly. This will ensure that your polish adheres well and lasts longer. Here’s what you need to do:
- Remove any old nail polish with an acetone-based nail polish remover.
- Clip and file your nails to the desired shape and length. Glazed donut nails look especially flattering on longer, almond-shaped nails, but they work well on all nail shapes and lengths.
- Push back your cuticles gently with a cuticle pusher or an orange stick. You can also use a cuticle remover cream or oil to soften them first.
- Buff your nails lightly with a nail buffer to smooth out any ridges or unevenness.
- Wipe your nails with acetone or rubbing alcohol to remove any oils or residues that may interfere with the polish application.
Step 2: Apply a Base Coat
The next step is to apply a base coat to your nails. A base coat is a clear or tinted polish that protects your nails from staining and helps the color polish adhere better. It also prevents chipping and peeling of your manicure.
There are different types of base coats available, such as strengthening, smoothing, or ridge-filling ones. Choose one that suits your nail needs and preferences. For example, if you have weak or brittle nails, you may want to use a strengthening base coat that contains ingredients like keratin or biotin.
Apply a thin and even layer of base coat to all your nails and let it dry completely before moving on to the next step.
Step 3: Apply a Sheer Color Polish
The third step is to apply a sheer color polish to your nails. This is the main color that will create the base for your glazed donut effect. You can choose from different shades, such as white, pink, lavender, or neon, depending on the look you want to achieve.
For Hailey Bieber’s original glazed donut nails, her manicurist used a sheer white polish called OPI Gel Color called Funny Bunny. However, since this is a professional product that is only sold to nail technicians, you can use any similar shade from other brands.
Apply one or two thin coats of sheer color polish to all your nails and let them dry completely. You don’t want the color to be too opaque or too streaky, so make sure you apply thin and even layers.
Step 4: Apply a Chrome Topper
The fourth step is to apply a chrome topper to your nails. This is the product that will give your manicure the shiny and glistening effect that resembles the glaze on a donut. There are different ways to achieve this effect, such as using powders, flakes, or polishes.
For Hailey Bieber’s original glazed donut nails, her manicurist used a chrome powder called OPI Chrome Effects in Tin Man Can. However, since this is also a professional product that is only sold to nail technicians, you can use any similar product from other brands.
To apply a chrome powder, you need to use a sponge applicator or an eyeshadow brush. Dip the applicator into the powder and gently rub it onto your nails until they are fully covered with the chrome effect. You may need to repeat this process several times until you achieve the desired intensity.
To apply a chrome flake or polish, you simply need to use the brush that comes with the product. Apply one or two thin coats of chrome flake or polish over your sheer color polish and let them dry completely. You can also use a holographic or pearl polish to create a similar effect.
Step 5: Apply a Top Coat
The final step is to apply a top coat to your nails. A top coat is a clear polish that seals your manicure and adds shine and durability. It also protects your nails from chipping, cracking, or fading.
There are different types of top coats available, such as glossy, matte, or quick-drying ones. Choose one that suits your nail needs and preferences. For example, if you want your manicure to last longer, you may want to use a gel-like top coat (we love polygel) that cures under a UV or LED lamp.
Apply a thin and even layer of top coat to all your nails and let it dry completely. You can also apply a second coat for extra protection and shine.
And that’s it! You have successfully created your own glazed donut nails at home. Enjoy your trendy and delicious-looking manicure!
Tips and Tricks for Glazed Donut Nails
Here are some tips and tricks to make your glazed donut nails look more professional and last longer:
- To avoid bubbles or smudges in your polish, make sure you shake the bottle well before using it and store it in a cool and dry place.
- To avoid getting polish on your skin or cuticles, use a liquid latex barrier or tape around your nails before applying polish. You can also use a cotton swab dipped in acetone or nail polish remover to clean up any mistakes.
- To speed up the drying time of your polish, use a quick-drying spray or drops after applying each coat. You can also use a hair dryer on a low-heat setting to dry your nails faster.
- To prevent your nails from breaking or peeling, wear gloves when doing household chores or washing dishes. You can also apply cuticle oil or cream daily to moisturize and nourish your nails and cuticles.
- To refresh your manicure, apply a thin coat of top coat every few days to maintain the shine and durability of your polish.
We hope you enjoyed this blog post on how to get glazed donut nails at home. Glazed donut nails are a fun and easy way to spice up your nail game. They are great for dressy events (especially if you keep to a muted color palette) or to make an impression on a night out!
Have you tried glazed donut nails before? What color did you choose? Let us know in the comments below!

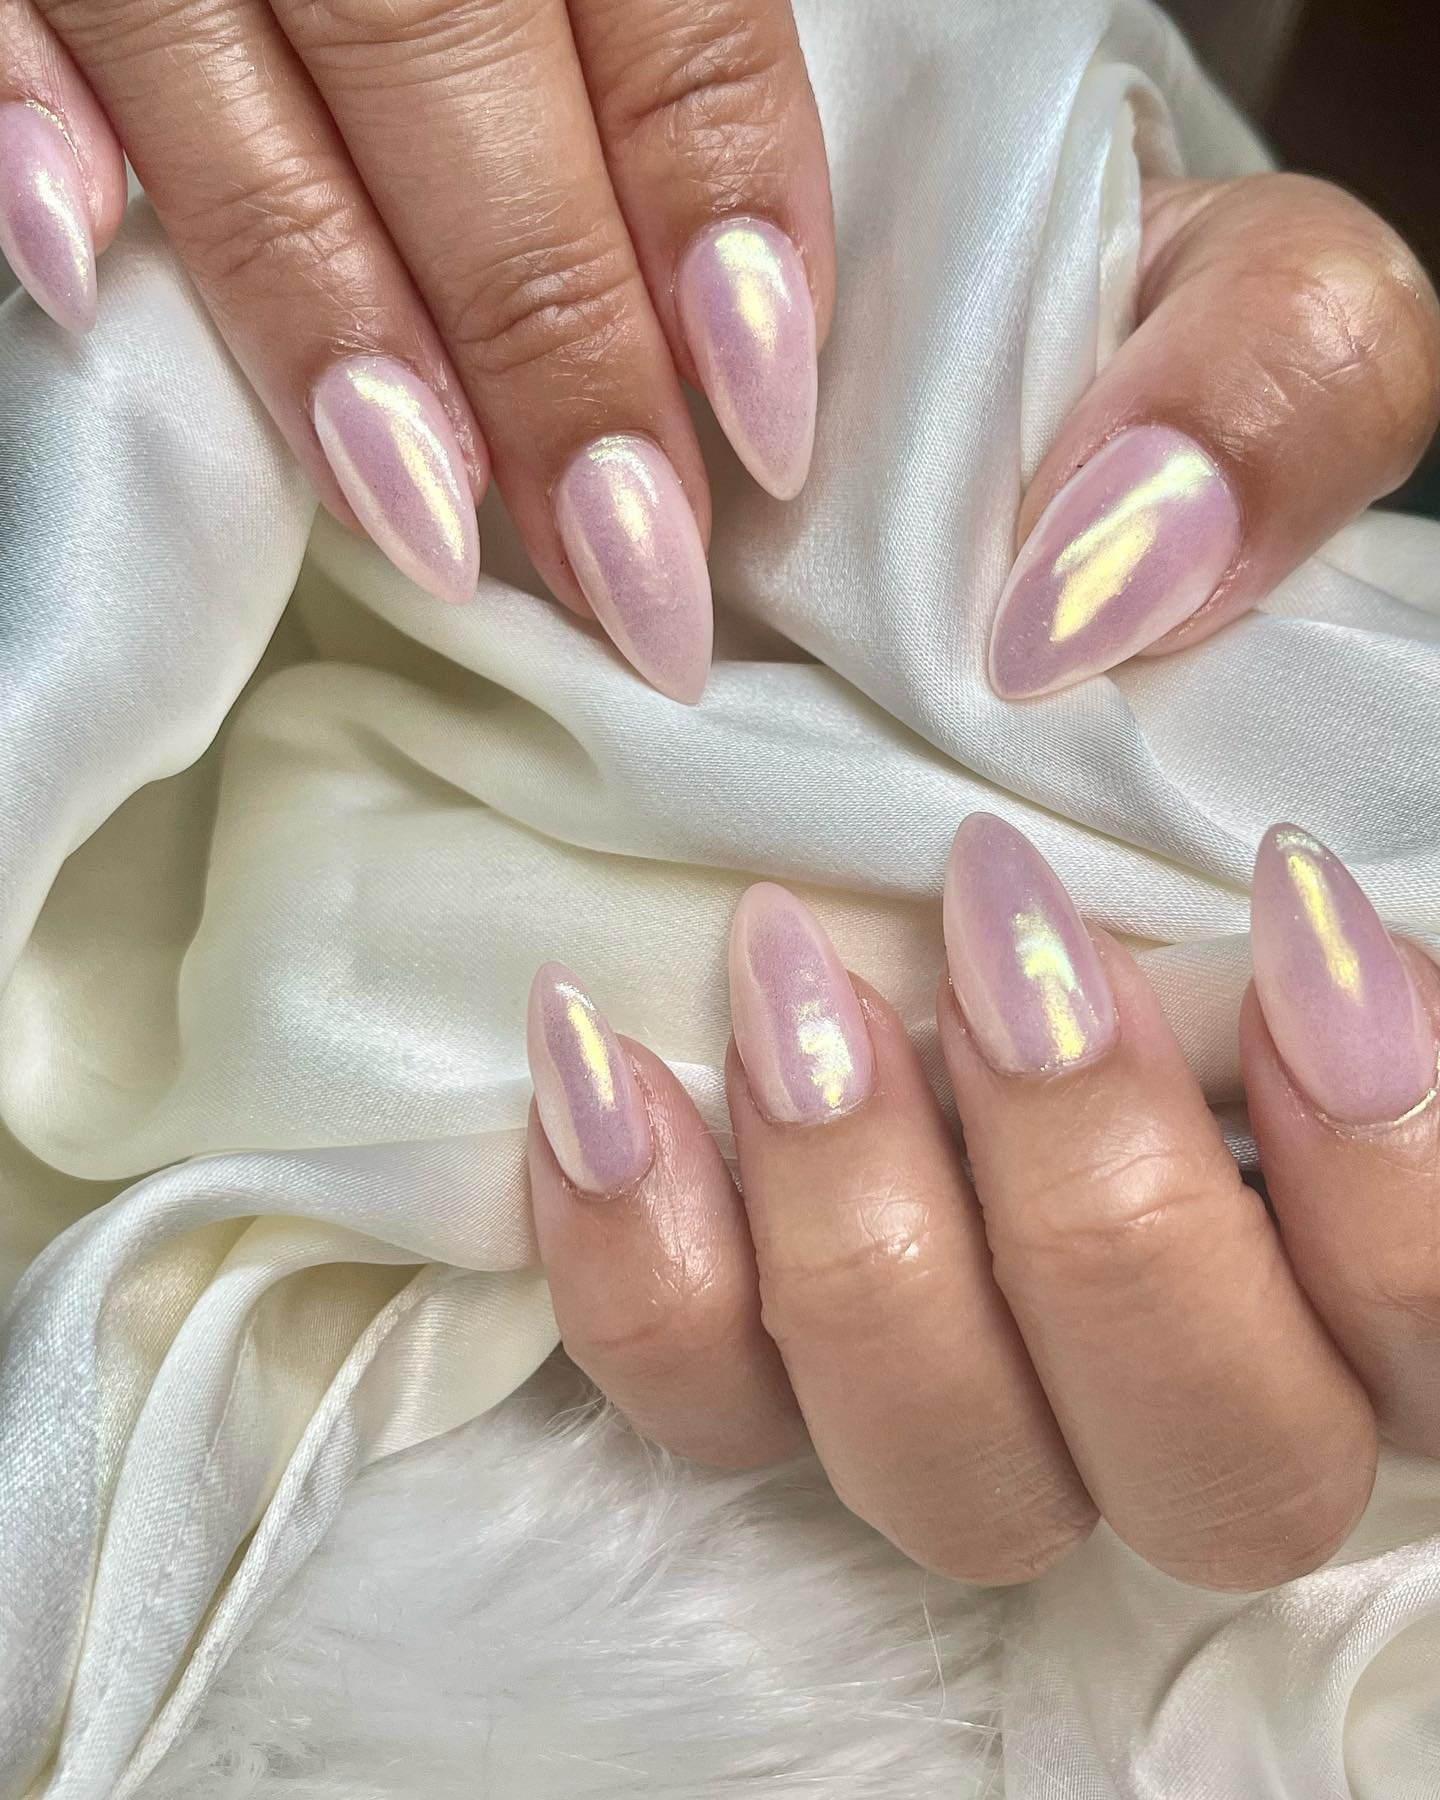
Name of polish. The gal didn’t know