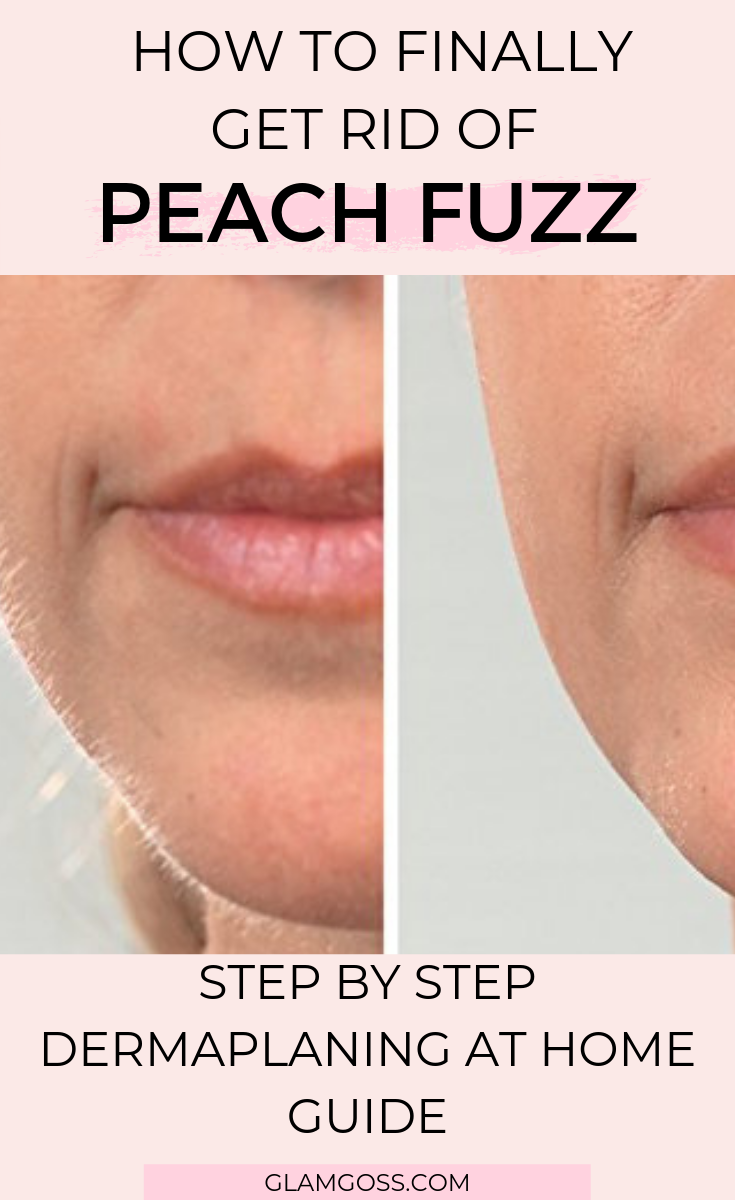
The first time I noticed dark hairs sprouting on my upper lip, I immediately called my mom and thanked her for passing along the hairy genes. After that, I needed an action plan. Turns out, there are some major skin benefits to removing the peach fuzz and dead skin cells from your face. Dermaplaning at home is the easiest way to get a beautiful complexion without leaving your bathroom.
What Is Dermaplaning?
Dermaplaning is a super effective form of exfoliation that leaves your skin glowing and clear. A sharp tool is used to scrape away vellus hairs, lovingly known as “peach fuzz”, as well as dead skin cells.
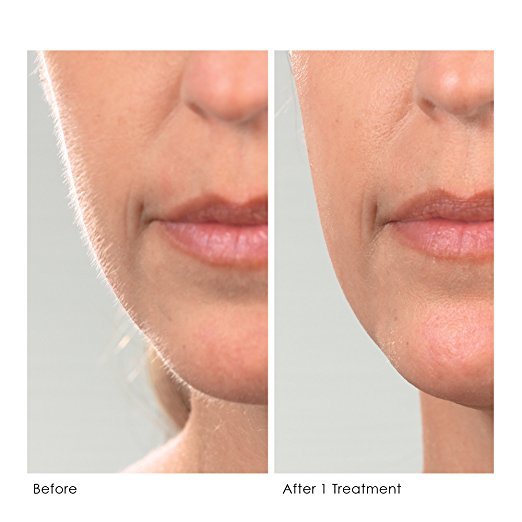
The dermaplaning process essentially resurfaces your skin by gently removing the top layer. Your complexion will instantly be smoother and brighter and, unlike a chemical peel or microdermabrasion, it doesn’t leave your skin pink for days! With the right tool, there is no pain, nicks, or downtime, just better looking skin.
Benefits Of Dermaplaning
Dermaplaning removes those pesky hairs and dead skin cell build up, which instantly brightens your face. It helps all your beauty products such as cleansers, serums, and creams absorb into the skin more effectively as well.
As if that wasn’t reason enough, dermaplaning also makes your makeup look better. Cosmetics such as foundation, concealer, highlighters, and bronzers will show up much better on your skin after an at home dermaplaning treatment. I noticed that I was even able to use less foundation to achieve the same coverage after my first dermaplaning session.
How To Do Dermaplaning At Home
Up until recently, dermaplaning was an expensive treatment you could only have done in salons and dermatologists’ offices. Fortunately now there are several great affordable tools for dermaplaning at home that will give you the same great results.
At Home Dermaplaning Treatment Step-by-Step
Before treatment, cleanse skin thoroughly and pat gently to dry. Starting with clean skin gives you better results. It’s important that the skin is dry as it helps dead cells come off more easily.
Make sure the dermaplaning tool is clean, and the blades are replaced as often as recommended by the manufacturer.
Hold your dermaplaning device in your dominant hand, and use your other hand to pull the skin taut as you go. Start around your cheek, working in small downward strokes. Work your way down to the jaw. Then follow your jawline with light strokes, and finally to your chin. Be extra careful around the chin as it’s the trickiest area. Finally, plane the area above your upper lip, and your forehead.
Be very careful around the brow area, and remember not to use on sensitive areas like eyelids, lips, nose, or anywhere you wouldn’t normally remove hair!
Now your new skin is ready to be pampered! Slather it with your favorite moisturizer, or vitamin C serum.
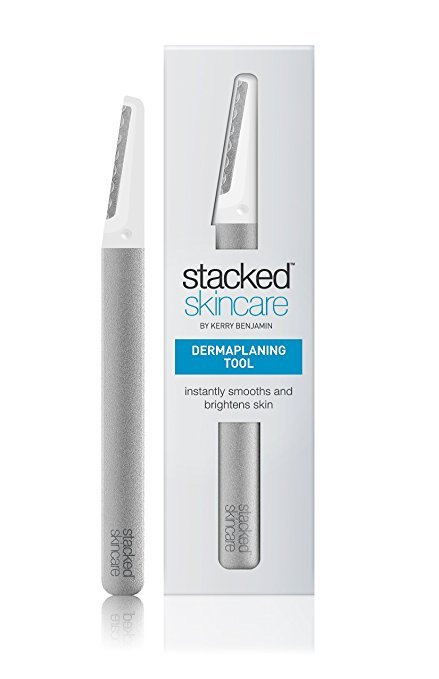
The Stacked Skincare dermaplaning tool, is just like the ones used by dermatologists. It removes an impressive amount of hair and dead skin cells in a single stroke. The tool is easy to hold, and features a blade guard on the tip to keep your skin safe while performing a treatment.
This stacked skincare tool works very well, yet is small enough to travel with. Unlike some other electronic dermaplaning tools, this one doesn’t have to be charged it, which is a plus. It comes with one refill blade, and the refill kits for the stacked skincare tool are very affordable.
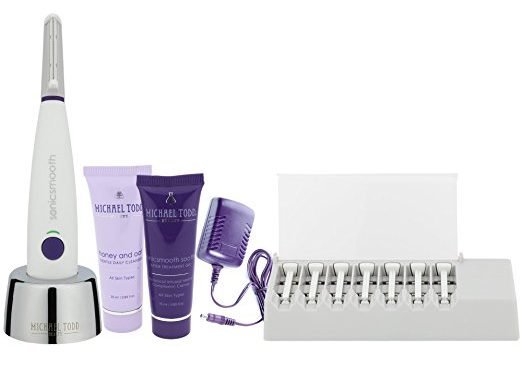
The Sonic Dermaplaning System By Michael Todd is one of the best value-for-money dermaplaning kits. This planer is electric and has 3 intensity levels. The body of the device is a little thicker, which makes it a little easier to hold while reaching tough areas, especially around the hairline.
The kit includes the sonicsmooth dermaplaner itself, 8 single-use safety edges (a 2 month supply), the charging cradle and cord, as well as a degreasing prep cleanser and soothing after-treatment gel. The Michael Todd System leaves the skin feeling silky smooth, and the vibrating feature helps remove even more dead skin cells and hair than a traditional dermaplaner. The replacement kits are pretty affordable, which makes it an even better deal.
While this works really well, there are some reliability issues — after the first use my dermaplaner wouldn’t charge anymore. After contacting them, I did get a replacement unit for free, though.
I really wanted to like this dermaplaning at home tool by Tweezerman. Not sure if I was swayed by the pretty pink color or the very affordable price.
Unfortunately, this tool didn’t really seem to do much for me. It removed just a few hairs and was a little scratchy on my face. The only good thing is that it’s super easy to keep clean, so kinda convenient if you’re on the go. The blades do tend to dull more quickly than other brands as well.
Pretty much any other choice is going to give you better results.
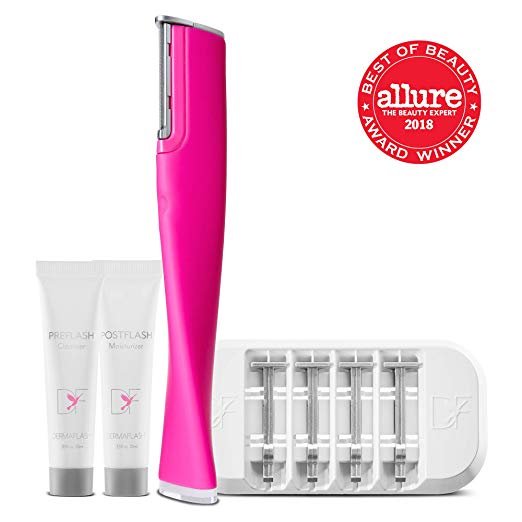
The Dermaflash is probably the best known name in at home dermaplaning, and has really revolutionized the industry. This nifty invention was the first of its kind, designed as a facial skin exfoliator and peach fuzz removal device for sensitive skins. This sonic dermaplaning tool is the easiest to hold, and overall the fastest one I’ve tried.
The Dermaflash comes in a 5-Piece set, with everything you need for 6 weeks of treatments. It includes a prep cleanser and a soothing moisturizer, the Dermaflash device itself, charging base and cord, as well as six blades.
The Dermaflash worked really well and removed the most hair and dead skin cells out of all the dermaplaners I’ve tried. Even just a ten minute pass removes more schmutz than half an hour with any of the others. The two major downsides are that it takes a while to charge (usually I leave it overnight) and, more imporantly the price point. It works great, but the Dermaflash is easily three times as expensive as most of the other dermaplaners.
Pros
Vibrations help achieve better results more quickly
Easiest to hold
Cons
Has to be charged
Expensive
So Which One Is The Best Tool For Dermaplaning At Home?
Overall, my top choice for an at home dermaplaning tool is:
This dermaplaning kit has a lot going for it. It’s easy to use, lets you customize the intensity, and both the kit and the refills are very affordable.
And there you have it, everything you need to know about doing a dermaplaning at home treatment! Hope you enjoyed reading and happy dermaplaning!